


A ceramic that lifts, a chipped ring, a guide torn off or with a broken foot: it is a common mishap, and it puts a rod out of action over a part that costs next to nothing. Fixing it takes simple movements, within reach of any angler, rodbuilder or not.
This tutorial covers the whole job, from choosing the replacement part to curing the finish. Allow around thirty minutes of actual work, then a few days of curing before you head back to the water.

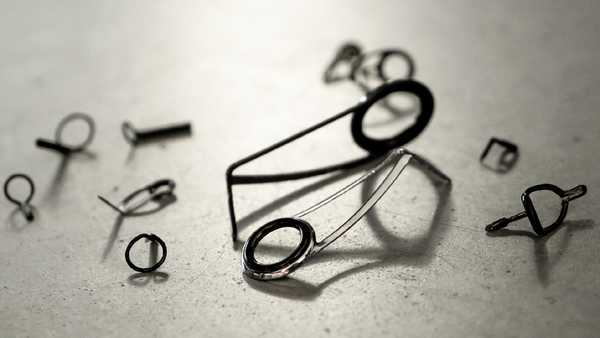
Before you strip anything down, you need to know which part to order. Most tutorials skip this step, and it is the one that stops people most often. Two cases, depending on the guide.
A blank guide
It comes down to two criteria: the series, which sets the shape and height of the frame, and the ring diameter in millimetres. The simplest route is to read the reference engraved on the foot of the old guide before removing it. If it is illegible, measure the inside diameter of the ceramic and compare it with the two neighbouring guides: the guide train has to stay coherent, and a guide sitting higher or lower than its neighbours distorts the path of the line. You will find the matching series in our blank guides.
Take the opportunity to check the ceramic: if you are replacing an entry-level ring on a rod you fish with braid, this is the moment to move up. Our comparison of Alconite, SiC and Torzite sets out what each material actually changes.
A tip-top
This one comes down to two measurements. The outside diameter of the ring, in millimetres, which usually lines up with the smallest guide on the rod. And the inside diameter of the tube, the part that caps the tip of the blank. That is the critical one. Remove the old guide, then measure the blank with calipers about 1.3 cm below the tip. Our tip-tops are sorted by brand and by size.
On a Fuji tip-top, the size reads 6-2(5): a 6 mm ring, a 2 mm inside tube diameter, which is 5/64 of an inch. Common sizes run from 5-1.6(4) on a finesse rod to 16-5(12) for big fish.
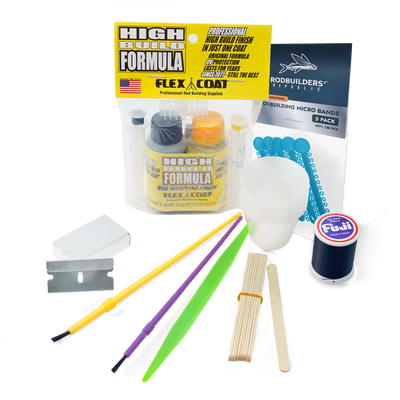
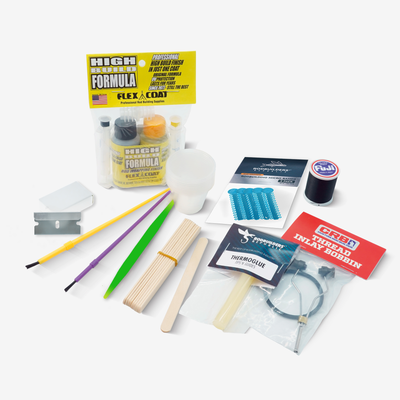
Nothing exotic, but two consumables cannot be improvised: the thread and the finish. Here is what to have on the bench before you start.
- a cutter with a fresh blade, to score the finish without slipping
- fine grit abrasive paper, 500 or 1000, to finish cleaning the blank
- some wrapping thread in a diameter suited to the rod
- a two-part epoxy finish, the only kind that lasts on a wrap
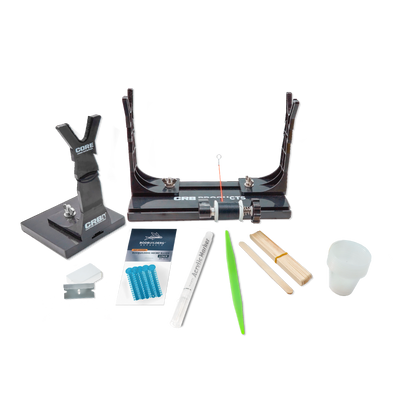
- some way of rotating the rod while the finish sets, without which it runs and forms a drip
That last point is the one people underestimate. An epoxy finish takes several hours to set, and a wrap that does not rotate during that time comes out lopsided. It is the only real equipment constraint of the job.
We have grouped the tooling by type of repair, depending on whether you are working on a blank guide or on a tip-top, whose glueing calls for different tools.
Even if your guide has not been torn off and is still in place, the first step is to score the finish so you can remove the whole wrap and expose the blank.
- Take a cutter and place it on the head of the guide foot, at a 45 degree angle.
- Score the finish until the blade meets the foot, then close your angle so the blade runs along the foot, cutting the finish as far as the start of the frame.
- Working this way, you are sure to protect the blank, which stays shielded by the guide foot. Your fingers are safe too.
If the guide has already been torn off, work the same way but score the finish less deeply. The aim is to expose the wrapping thread, not the blank.

Once the guide is off and the wrapping thread exposed, you can lift most of the finish with a fingernail. Large flakes come away, then you remove the rest by pulling on the thread: as it unwinds naturally it takes the remaining finish with it.
All that is left are traces of dry finish, and possibly residue from the thread coating if the original wrap used a metallic reference.

To get a clean blank ready to take a new wrap, scrape off the largest deposits of finish with a fingernail, then sand lightly with fine grit, 500 or 1000.
Go gently: you want to remove the finish, not attack the carbon. Your blank will then be as good as new, or nearly so on rods that carried a factory coat of finish over their whole length.

Wrap your new guide in exactly the position of the old one. The mark left on the blank by the previous wrap is your reference, keep an eye on it: moving a guide even a few millimetres changes how stress is spread across the whole guide train.
If you have never wrapped a guide, know that the movement is learned in an evening. The difficulty is not the wrap itself but the regularity of the turns, which comes with practice.

Apply the finish to your new wrap, let the rod rotate overnight, then let it cure right through for a few days before any load. A finish that feels dry on the surface is not yet cured in depth.
This is the only point in the job where patience matters more than technique. A wrap put back to work too early marks, turns white, and you have to start again.

Let us be honest about the arithmetic. The job is simple, but it assumes a minimum of tooling, and above all some way of rotating the rod while the finish sets. If you are changing one guide once in your life, the equipment is out of proportion with the part.
If on the other hand you own several rods, or you fish from a boat or off the coast where breakages are more frequent, the tooling pays for itself on the second repair. And you gain an autonomy that is well worth the learning time.
If you would rather not, a local rod builder will handle the wrap, the fit and the finish for you. Ask for a quote before dropping the rod off.
Your rod is as good as new. You can head back to the water for many more seasons.







Comments
0Log in to leave a comment.
Log in