
Finishing with gold leaf
So let's get this straight, we use what's called "gold leaf", but in our case it's actually "fake gold".... Real gold leaf can be found, and is indeed used in art cabinetmaking for sculptures and furniture "gilded with gold leaf" (the term in de rigueur), but that would raise the budget, whereas faux gold leaf, which can be found quite easily in good specialist fine art stores, does the job just as well, for a lot less...
And it's exactly the same installation principle as for fine art cabinetmaking! Except that you don't have to apply as much effort as these craftsmen either, to get an interesting result on a cane...
It's also very simple, quick to do, quicker than a wrap that's a bit worked (by which I mean a wrap with some edging). You just need to respect a few extra poses, between the few steps.
COMPOSANTS/TOOLS
- Special glue for gold leaf (it's a white aqueous glue, it looks a lot like color preservative, actually...)
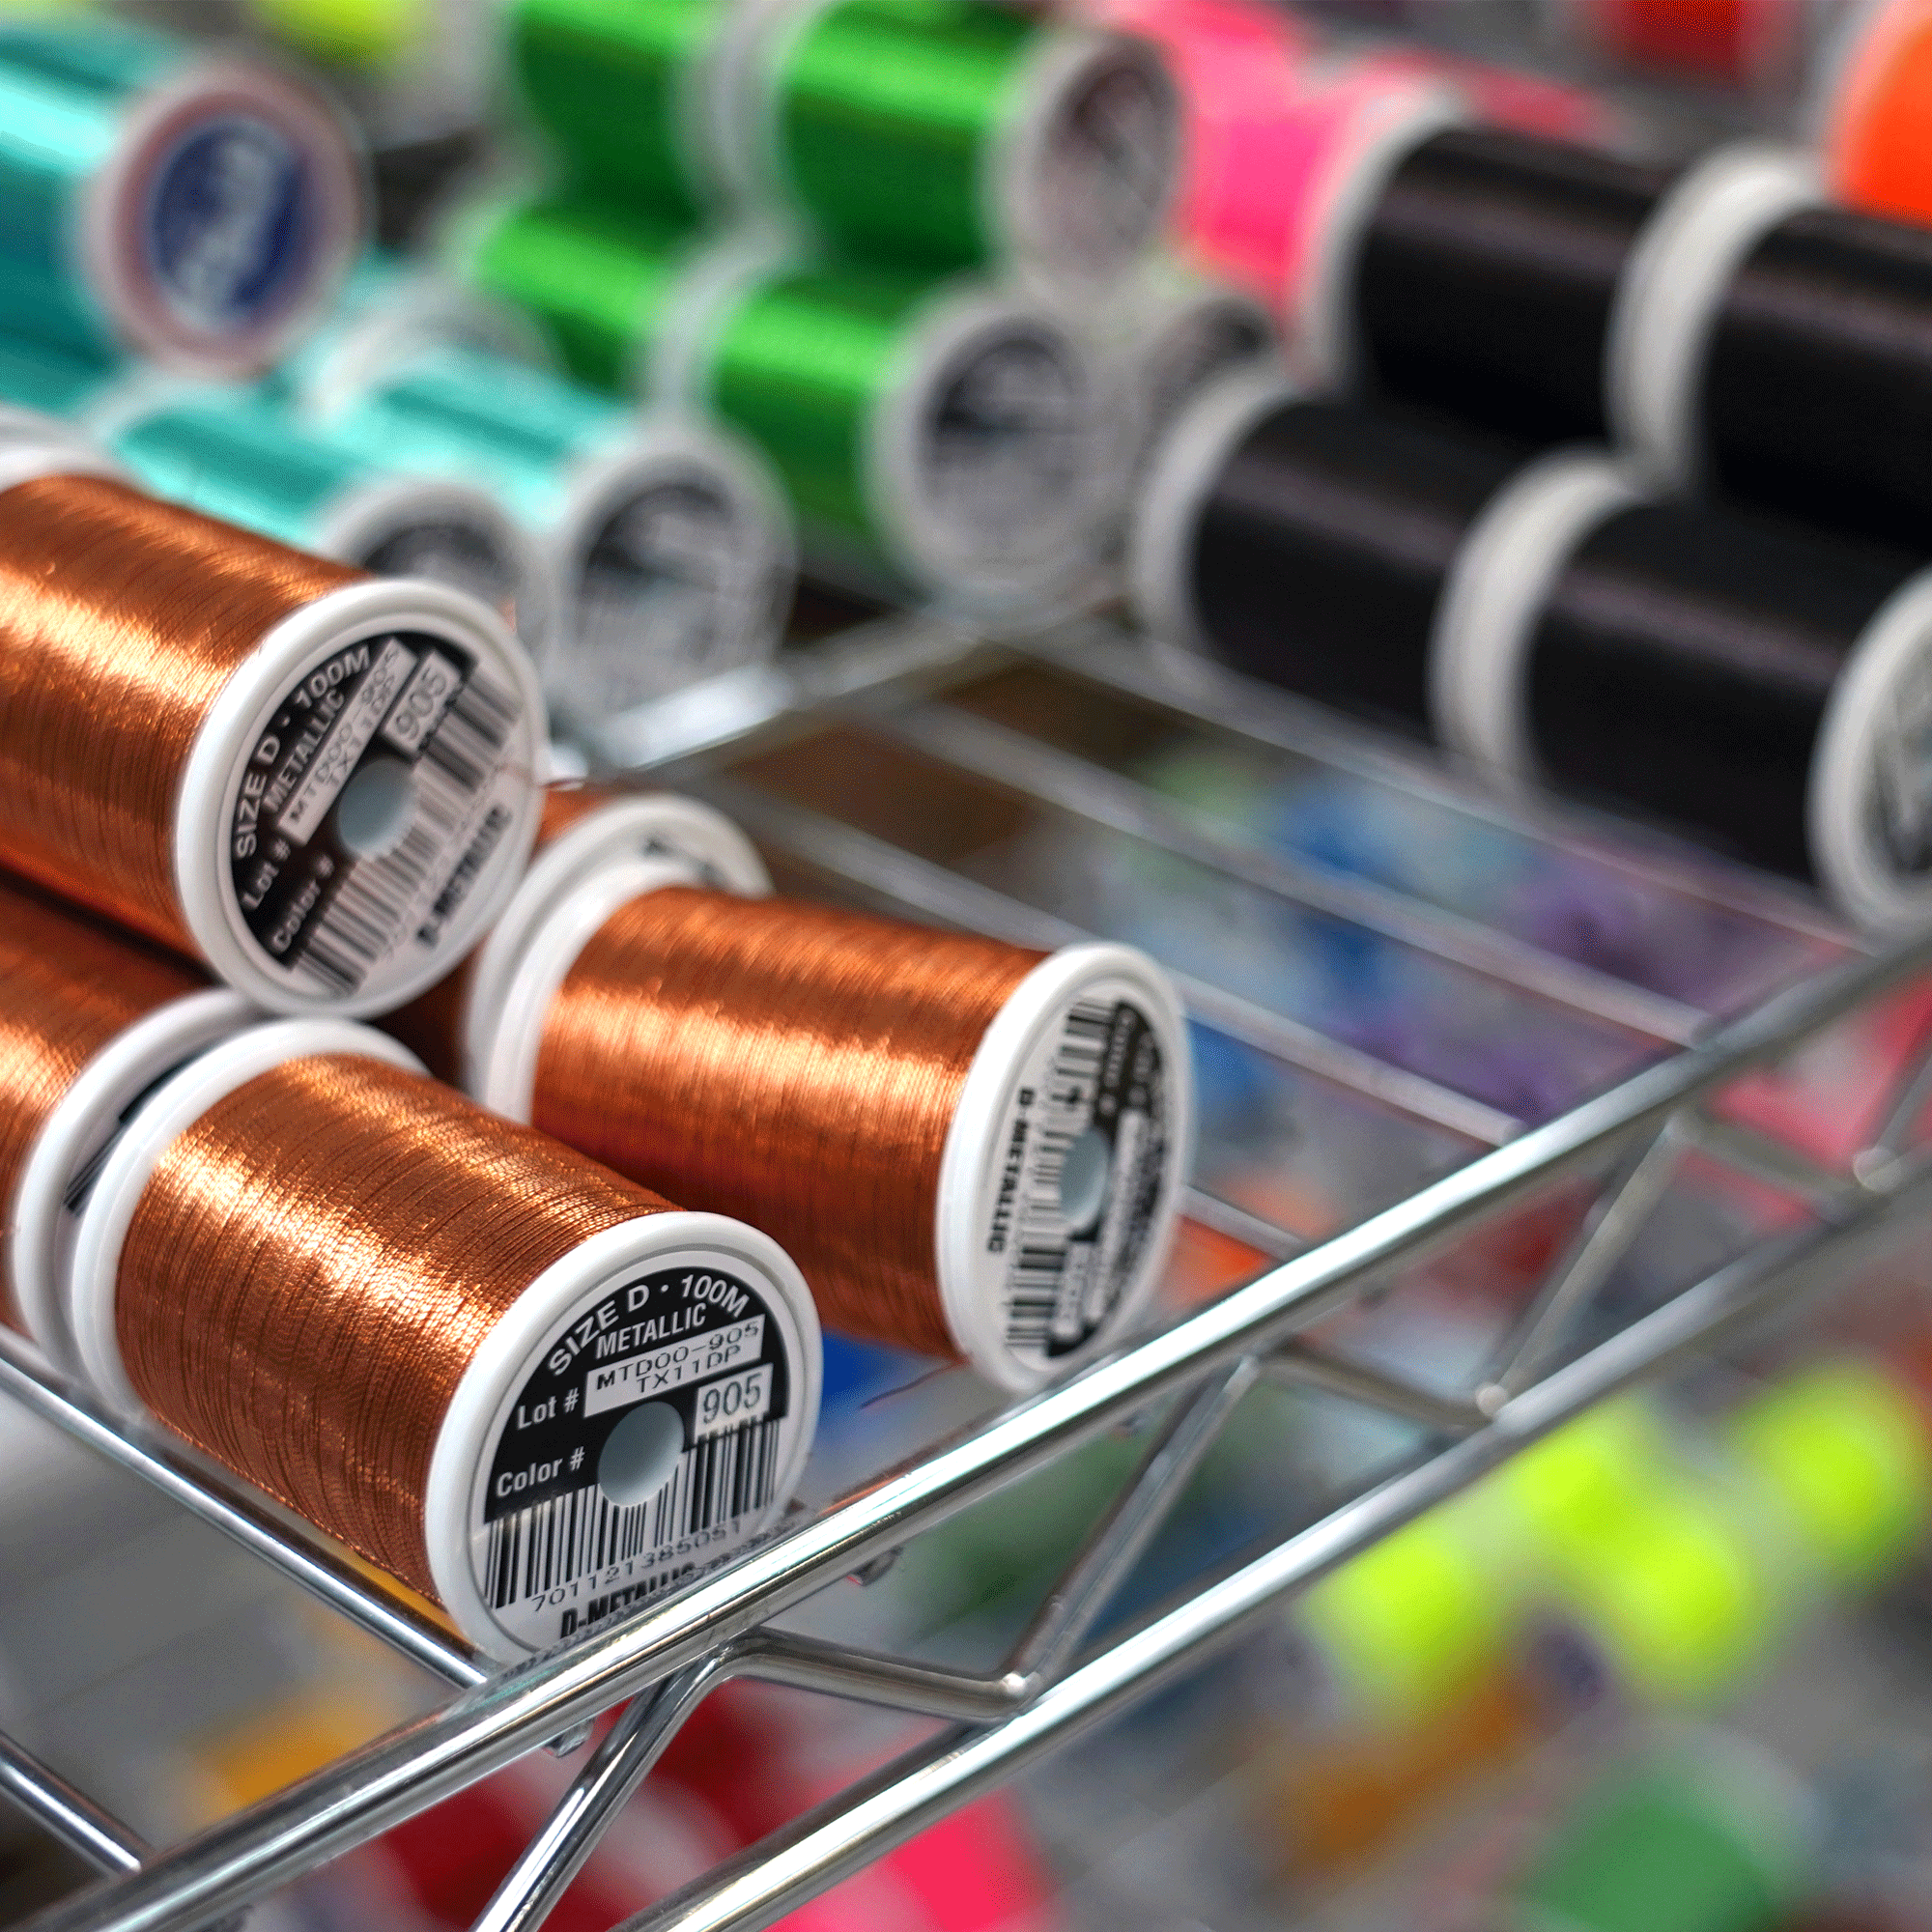
- Gold leaf (can be found in gold, copper, oxidized to have shade variations)
Both can be found in a good art store (the kind that sells lots of colored pencils, blank canvas, etc., in short, the stuff to drive our middle-school art teacher crazy as a kid).
- Gold leaf flakes as an alternative to gold leaf... A little longer to cover a wrap than a leaf, but more possibilities in colors. They're actually scraps of gold leaf.
Flakes can be found in costume jewelry stores, for example, it's generally used to make worked decorations on nails
Previous Next- A color preserver. At Rodhouse
And for the rest, it's all very standard in rodbuilding: brush (with natural hair), varnish, Wrapping wire...
PREPARATION
Whether on a "crook wrap" (fiberglass crack tape) or on a ligature, the process is the same.... In the case, of the crook wrap, I advise doing it directly on the fiberglass strip, ligated at the ends, but uncovered along the entire length.
It's then simply a matter of passing the gold leaf glue over in exactly the same way as one would apply a color preservative (or color preserver)
Be careful not to go beyond the edges of the area to be covered...
And let it rest for about fifteen minutes before moving on to the next step. The glue won't be totally dry, but just right (it's not by the second either, I was lazy enough to wait 15 minutes, so I can say that 7-8 minutes works too...)

PLACING THE LEAF OR FLOCONS
- Placing a leaf: gently take the leaf (very light, tears very easily) and place it on the wrap while turning. Once the turn is complete, you tear gently. It's impossible to lay it flat without a surplice, so don't worry. If you try to take it off and put it back on, you'll tear it anyway. So let's just say that laying it "on the fly" doesn't work too badly... There will probably be holes, which you'll treat as in the case of flock laying...
- Laying flakes: I take a natural bristle brush, go back and forth a couple of times on my pants, to create a little static electricity. And I catch the flakes with the brush, thanks to this static electricity. I place the flakes on the wrap with the tip of the brush, and the glue should capture the flakes (if not, then you have even less patience than I do to let the glue rest...). Don't be afraid of over-thickening!
- If you have a few holes left at the end (or at each of the following steps), and the glue no longer sets, you can add a few more dots of glue over these holes, and there's no problem either if a little glue ends up on gold leaf already laid.
Once your wrap is completely covered, it's time to pack it down. To do this, I take a scrap of EVA foam and press down well along the entire length.
At this point, you still have a surplus of gold leaf, which we'll clean up in the next step, a few hours later (to do it right, a dozen, but if you're still reading me, you must already suspect that I didn't have that much patience...
NETTOYAGE
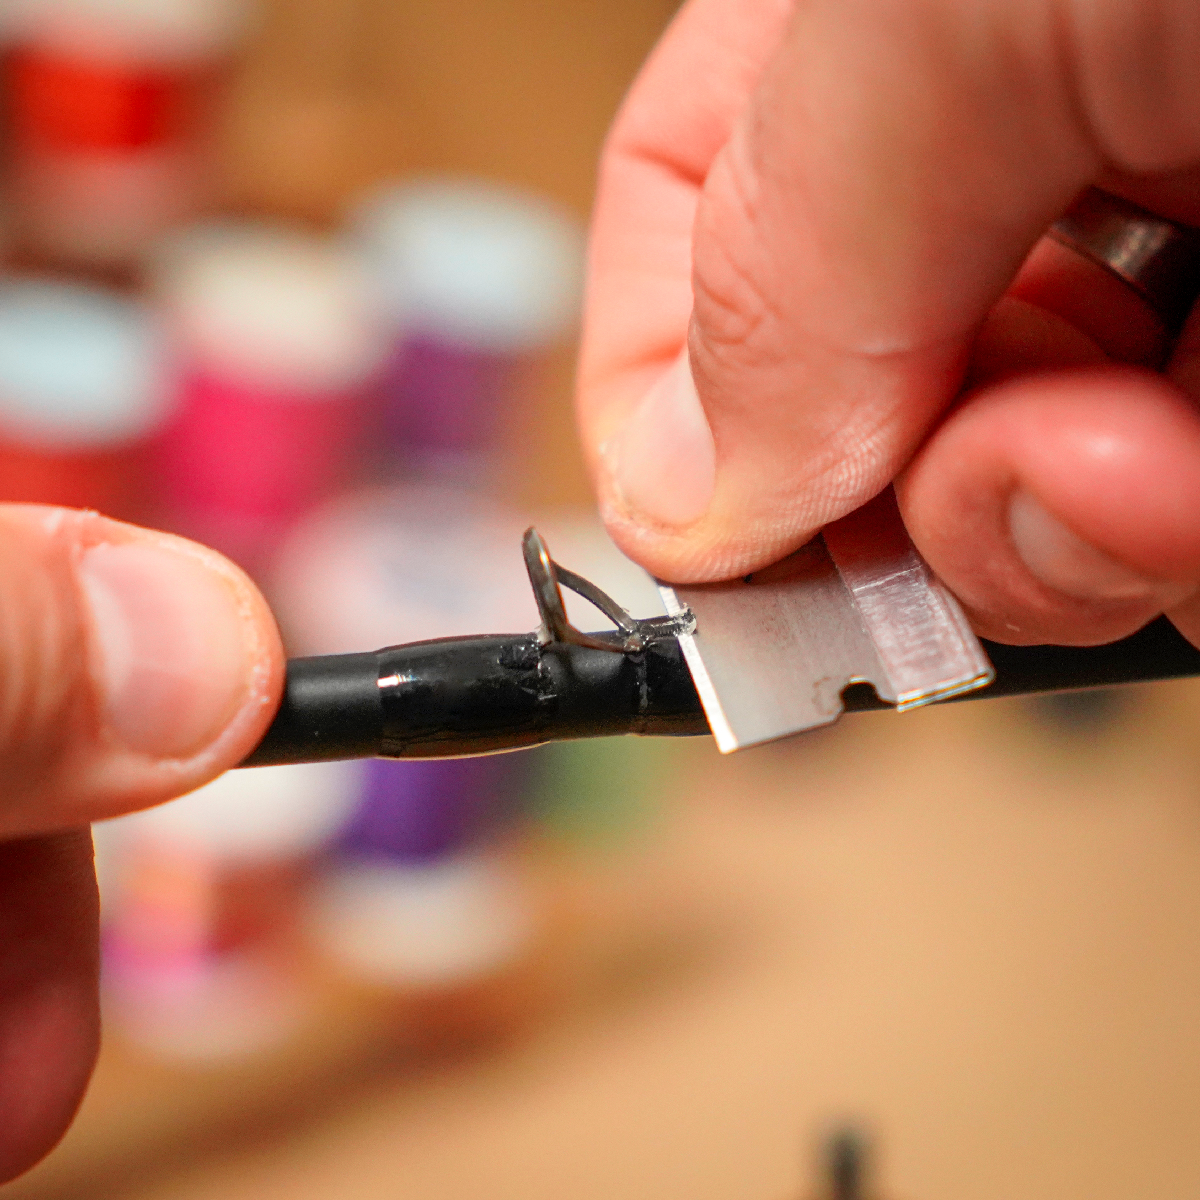
This part mainly consists in removing the excess gold leaf... Not very complicated, a few minutes are enough... we simply pass a dry fine bristle brush over the ligatures, until there are no more spikes sticking out or gold leaf "dust" flying.
https://youtu.be/ZvlK4PkqdSoCOLOR PRESERVER
We apply the color preservative as we normally would, no more, no less. two coats two-three hours apart is fine.
We let it rest for at least a dozen hours after the last coat of preservative (yes yes! I respected it, I went to bed and the next step wasn't done until the next day!)

VERNIS
And here we are at the last step... varnish! So on this type of finish, I prefer not to dilute the varnish. It's possible that dilution doesn't affect it, but I confess I haven't tried it, or at least I haven't taken the risk of a possible color change. I'll spare you any photos of the varnish...
And that's all!
CONCLUSION
I said it in the introduction, it's simple, fast, with just a few pauses between each step.
Whether leaves or flakes, there's enough to make several canes with. The photo of my pot of blue/Gold flakes is... 'after' I've done all the finishing touches on a 7'6 Fly rod! (the FAF 763 by NFC, which I recommend, by the way...)
And the weight, you may ask? Well, here it is...


SOME EXAMPLES ON FINISHED AND VERNISHED CANNES


 https://youtu.be/gJ5azINoocM



Leave a comment
All comments are moderated before being published.
This site is protected by hCaptcha and the hCaptcha Privacy Policy and Terms of Service apply.