
Advanced techniques for "Sparkler" wrapping ligatures
Tuto : Wrapping "Sparkler"
By André.Rodbuilding is all about assembling a rod. For it to be perfectly functional, there's no need for frills, embellishments and other blingy stuff. But it's so much nicer when you take the time to make a few decorations that will give your rod an incomparable cachet. For this, there's wrapping... Wrapping is the art of winding threads according to a precise method to create a defined pattern. These patterns and procedures can be found in a book written by a wrapping artist, Mr Billy Vivona, this book is available on the Rodhouse store.
[caption id="attachment_1403" align="aligncenter" width="600"] Billy Vivona's wrapping book is available on the Rodhouse.co.uk website[/caption]
I'll try to introduce you to this art by making a step-by-step of a wrapping. I've chosen the one available on page 53 of Billy's book:
The "SPARKLER" : Sparkler...

- I turn the handles beforehand so that I can position my wrap on the heel;
 Reel holder handle turned to get the desired shape[/caption].
[caption id="attachment_1386" align="aligncenter" width="640"]
 The operation is repeated for the heel.[/caption]
- I then trace with the china mark two axes, one on the spine and the other on the counterspine at 180°;
- I perform the calculation to determine the length of the figures, in this case the heel is cylindrical, diameter 13mm, so circumference length = 40.82 mm ;
- This circumference is the length of the figures we're going to trace on the axes. I always use a little more, in this case 42mm ;
- This gives for tracing in mm starting from the left: 0° axis: 42/84/126/168/210, this is the length of the 5 wrapping figures, the length between the handles being 235mm ; 180° axis: 21/63/105/147/189/210.
It remains to trace the axes on the heel and mark all these points, then we position the boxes according to the diagram in the book.
[caption id="attachment_1387" align="aligncenter" width="640"] The two boxes, gray and yellow.[/caption]
[caption id="attachment_1388" align="aligncenter" width="640"]
 Plus the black box.[/caption]
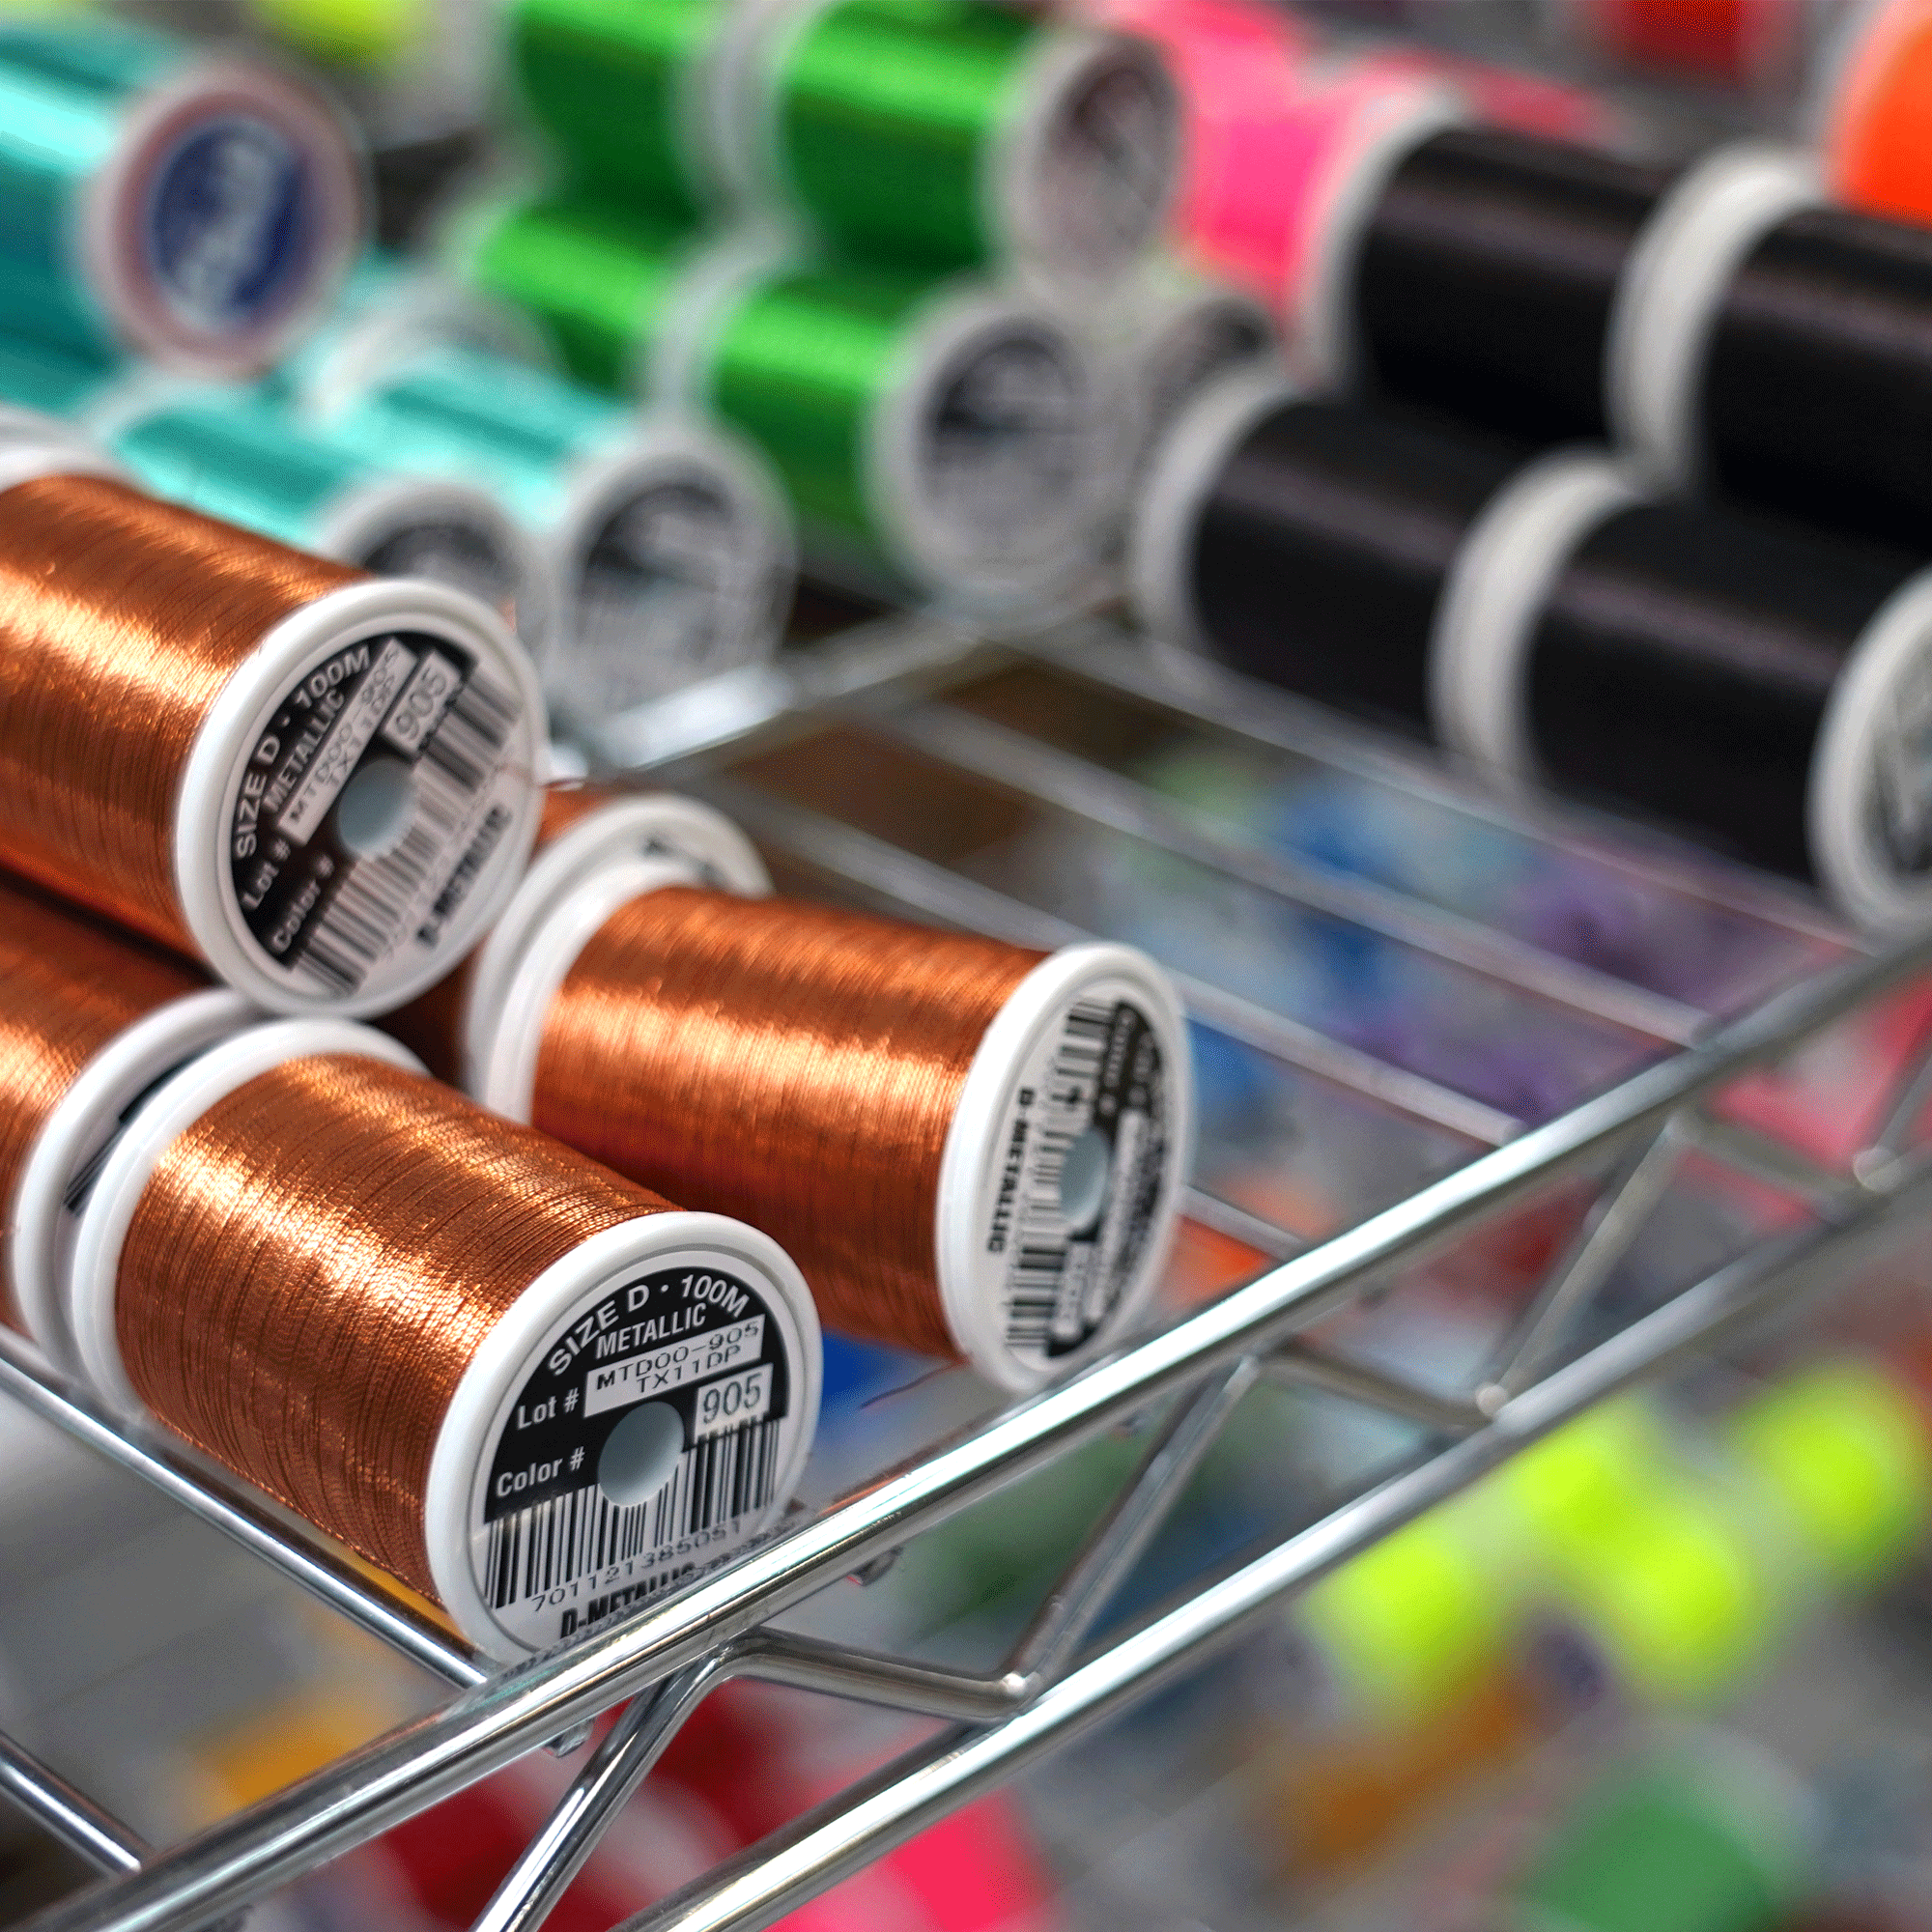
The wires used are Mettler polysheen size 40 ( equivalent to A ) untreated color preserve.
 This is a delicate phase in the wrapping process, as the correct positioning of the boxes is essential to obtain a good result.
What's left is to assemble the wrapping according to a defined order: - Grey box IN , put the wire inside the box - Yellow box OUT , wire outside the box - Black box OUT +1. The wire is placed on the outside of the box, with one more wire on each pass. So: one wire, then two wires, then 3 wires...etc
.Good everyone follows, not too much of a headache?!!
[caption id="attachment_1390" align="aligncenter" width="640"] We put grey 2, yellow 2 and black 3 (+1 ) wire[/caption].
[caption id="attachment_1391" align="aligncenter" width="640"]
 The rest, 5 threads.[/caption]
[caption id="attachment_1392" align="aligncenter" width="640"]
 7wires: the tips are starting to come off.[/caption]
[caption id="attachment_1394" align="aligncenter" width="640"]
 9wires.[/caption]
At this point I close the wrapping with the black, make a good packing and pack the threads. All that remains is to close the inside of the figures.
[caption id="attachment_1394" align="aligncenter" width="640"] Here we go, one gold and two yellow threads on each side:[/caption]
[caption id="attachment_1395" align="aligncenter" width="640"]
 It's taking shape ...[/caption]
[caption id="attachment_1396" align="aligncenter" width="640"]
 We're getting close to the end, a few more strokes of the needle and burnisher and it's done.[/caption]
I then blank-fit the handle and heel.


I apply a first coat of varnish. Once dry, I sand lightly to rectify the bean spread effect.

At this point I glue everything down and apply another coat of varnish.
[caption id="attachment_1401" align="aligncenter" width="640"] The result is as good as the work done.[/caption]
The wrapping will be definitively finished after three coats of varnish.
Not so complicated ;-)



1 comment
Christophe 83
Magnifique tuto .sur cet exemple quel est la longueur de la box grise et des noires de chaque côté
Leave a comment
All comments are moderated before being published.
This site is protected by hCaptcha and the hCaptcha Privacy Policy and Terms of Service apply.