
Changing a Guide is a skill every angler should master!
Loose or chipped ceramics, or simply a ripped or broken Guide, are common mishaps. It's extremely quick and easy to remedy, provided you master a few simple gestures. Here's a skill that every angler, even if he's not a rodbuilder, should master: changing a Guide on his rod.

Step 1: Remove the broken Guide ring
Even if your Guide has not been ripped off and is still in place, the first step is to cut into the varnish to remove the entire ligature and expose the blank.
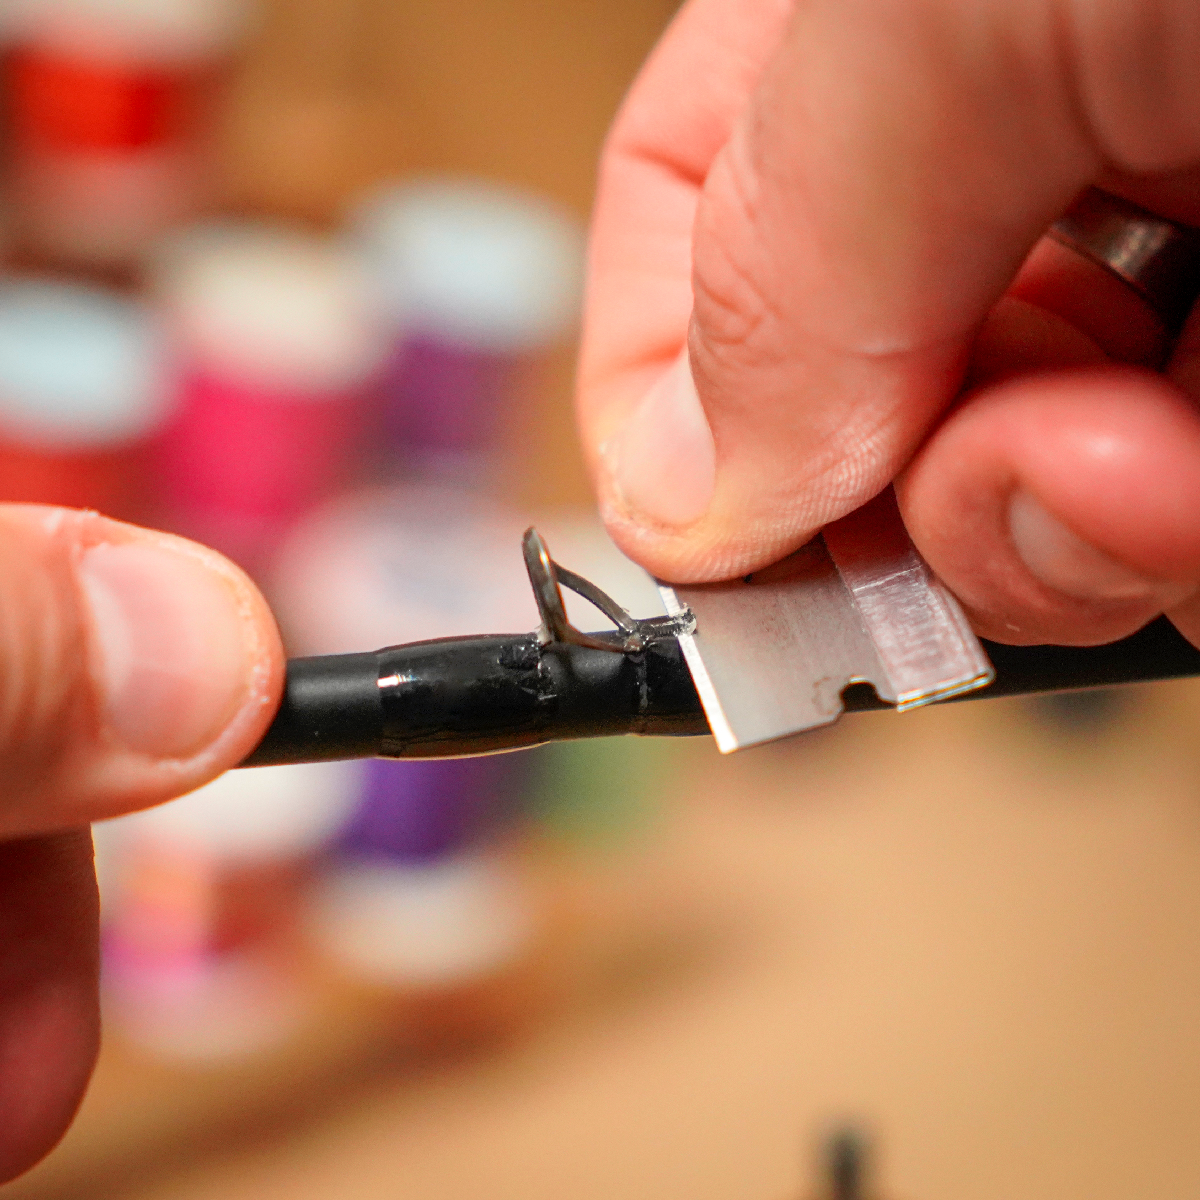
- To do this, take a cutter and place it on the head of the Guide tab at a 45° angle.
- Notch the varnish until the blade comes into contact with the lug and close your angle so that your blade runs along the lug, cutting the varnish right up to the beginning of the frame.
- In this way, you can be sure of preserving the blank, which will be protected by the Guide lug. Your fingers will also be safe!
If the Guide has been torn off, proceed in the same way, cutting the varnish less deeply; the aim is to expose the binding wire but not the blank.

Step 2: Remove varnish and binding
Once the Guide has been removed and the binding wire exposed, you can remove most of the varnish with your fingernail. You can then peel off large layers of varnish and remove the rest by pulling on the binding wire. As it unwinds naturally, the residual varnish will go with it.
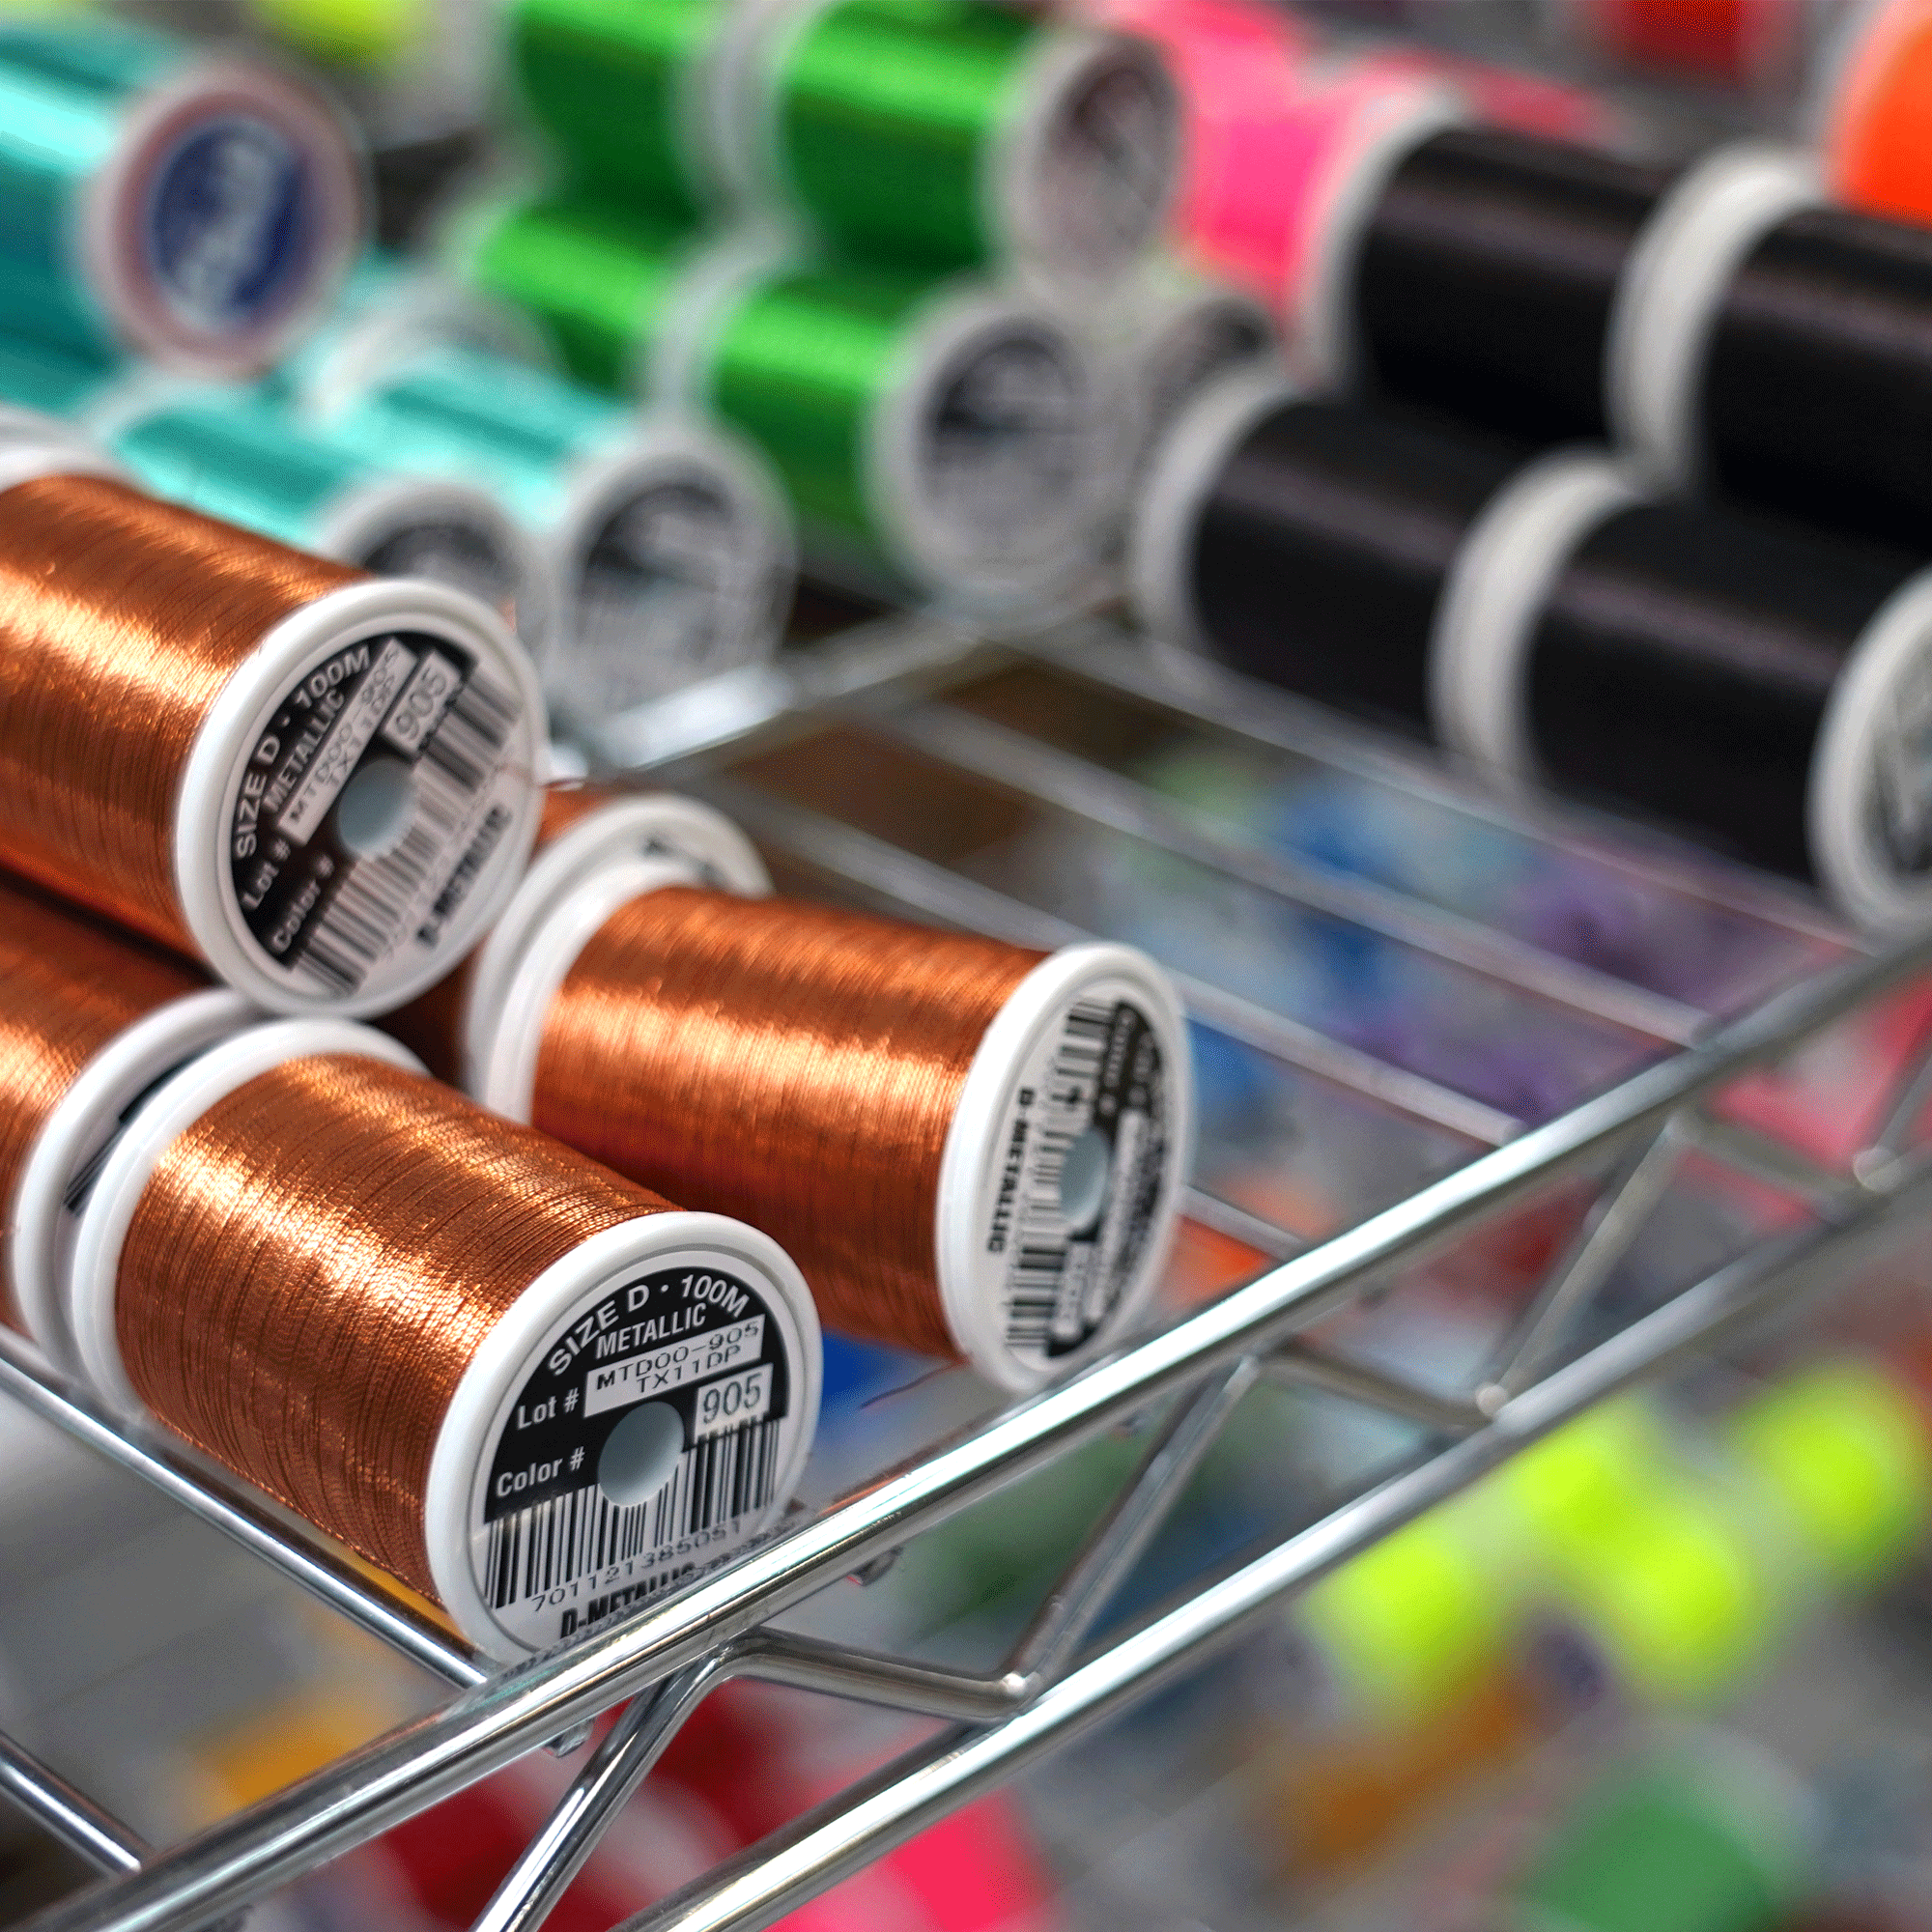
All you'll be left with are traces of dried varnish and, if you've opted for a Metallic reference, the wire coating.

Step 3: Clean up
To obtain a clean blank ready to be tied again without difficulty, scrape off any excess varnish with your fingernail and sand lightly with fine grit (500 or 1000).
Your blank will then be as good as new, or nearly so for those that were covered with a layer of varnish.

Step 4: Ligating a new Guide ring
Bind your new Guide as you normally would at the exact location of the old one.

Step 5: Varnish
Varnish your new Guide, leave it to rotate overnight and then let it dry thoroughly for a few days.

Step 6: Fishing!
Your rod is as good as new, so you can return to the water's edge for many seasons of fishing!





Leave a comment
All comments are moderated before being published.
This site is protected by hCaptcha and the hCaptcha Privacy Policy and Terms of Service apply.