
Tutorial: Creating Your First Fish Scale Wrap
Tutorial: Creating Your First Fish Scale Wrap
“Wraps offer endless possibilities due to different patterns and color combinations. Some are true works of art!” Jérôme Barnouin

Preparation Step
Selecting the Wrap Placement and Length
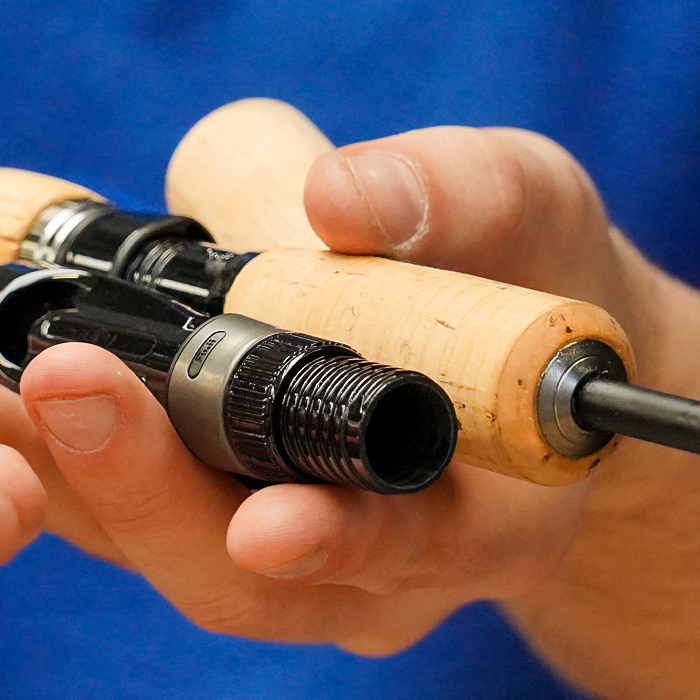
Here, the wrap is placed on the split grip, between the butt and the reel seat handle (PM), with a length of 250 mm.
Marking the Wrap Axes
After marking the spine of the blank, trace the upper and lower limits of the wrap. To align the patterns with the PM axis:
- Draw the first axis on the spine.
- Draw the second axis at 180° from the first.
Jérôme's Tips:
- Use a mechanical pencil for a fine and durable line.
- Secure a flat ruler with tape to ensure precise tracing.
Calculating the Pattern Length
Since blanks are tapered, the patterns must gradually elongate.
To calculate this, measure the blank’s perimeter at both wrap ends:
- Butt side: 53 mm
- Tip side: 48 mm
Make a sketch to adjust the length of each pattern.

Drawing the Patterns
The chosen pattern is the “Fish Scale”. For this type of wrap:
- On one axis, start by drawing a full motif on the butt side.
- On the opposite axis (180°), start with a half motif.
- Each pattern consists of three scales, so each section is divided into three.

Step 1: Creating the Base
Before starting the wrap, apply:
- About ten rounds of tape at the butt side and after the PM to protect the blank.
- A layer of double-sided tape over these protections.
Step 2: Starting the Wrap
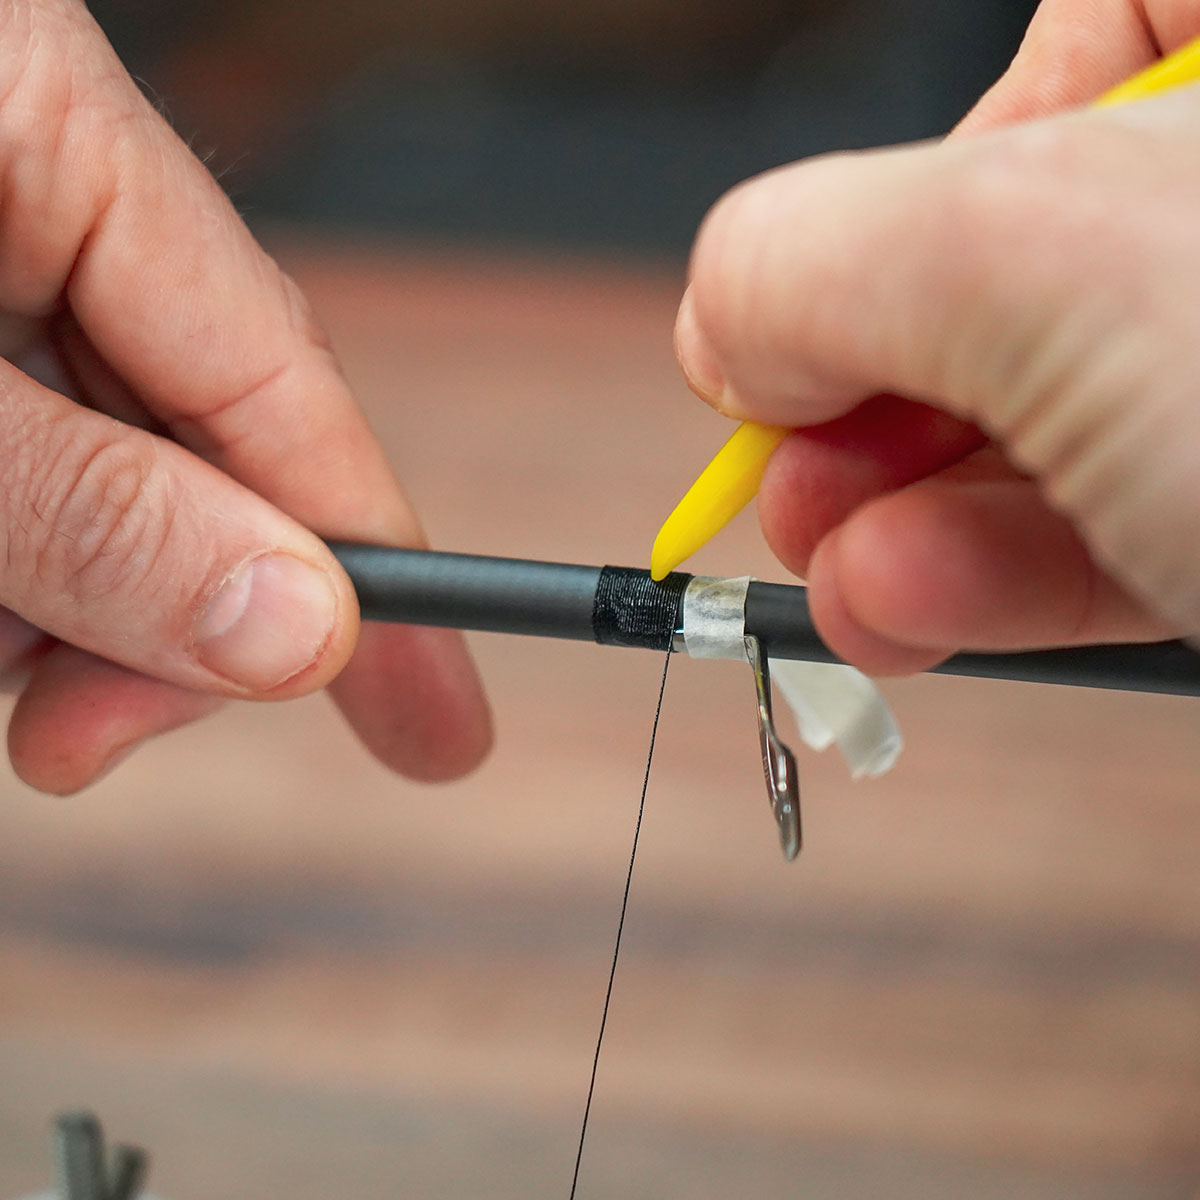
Begin by:
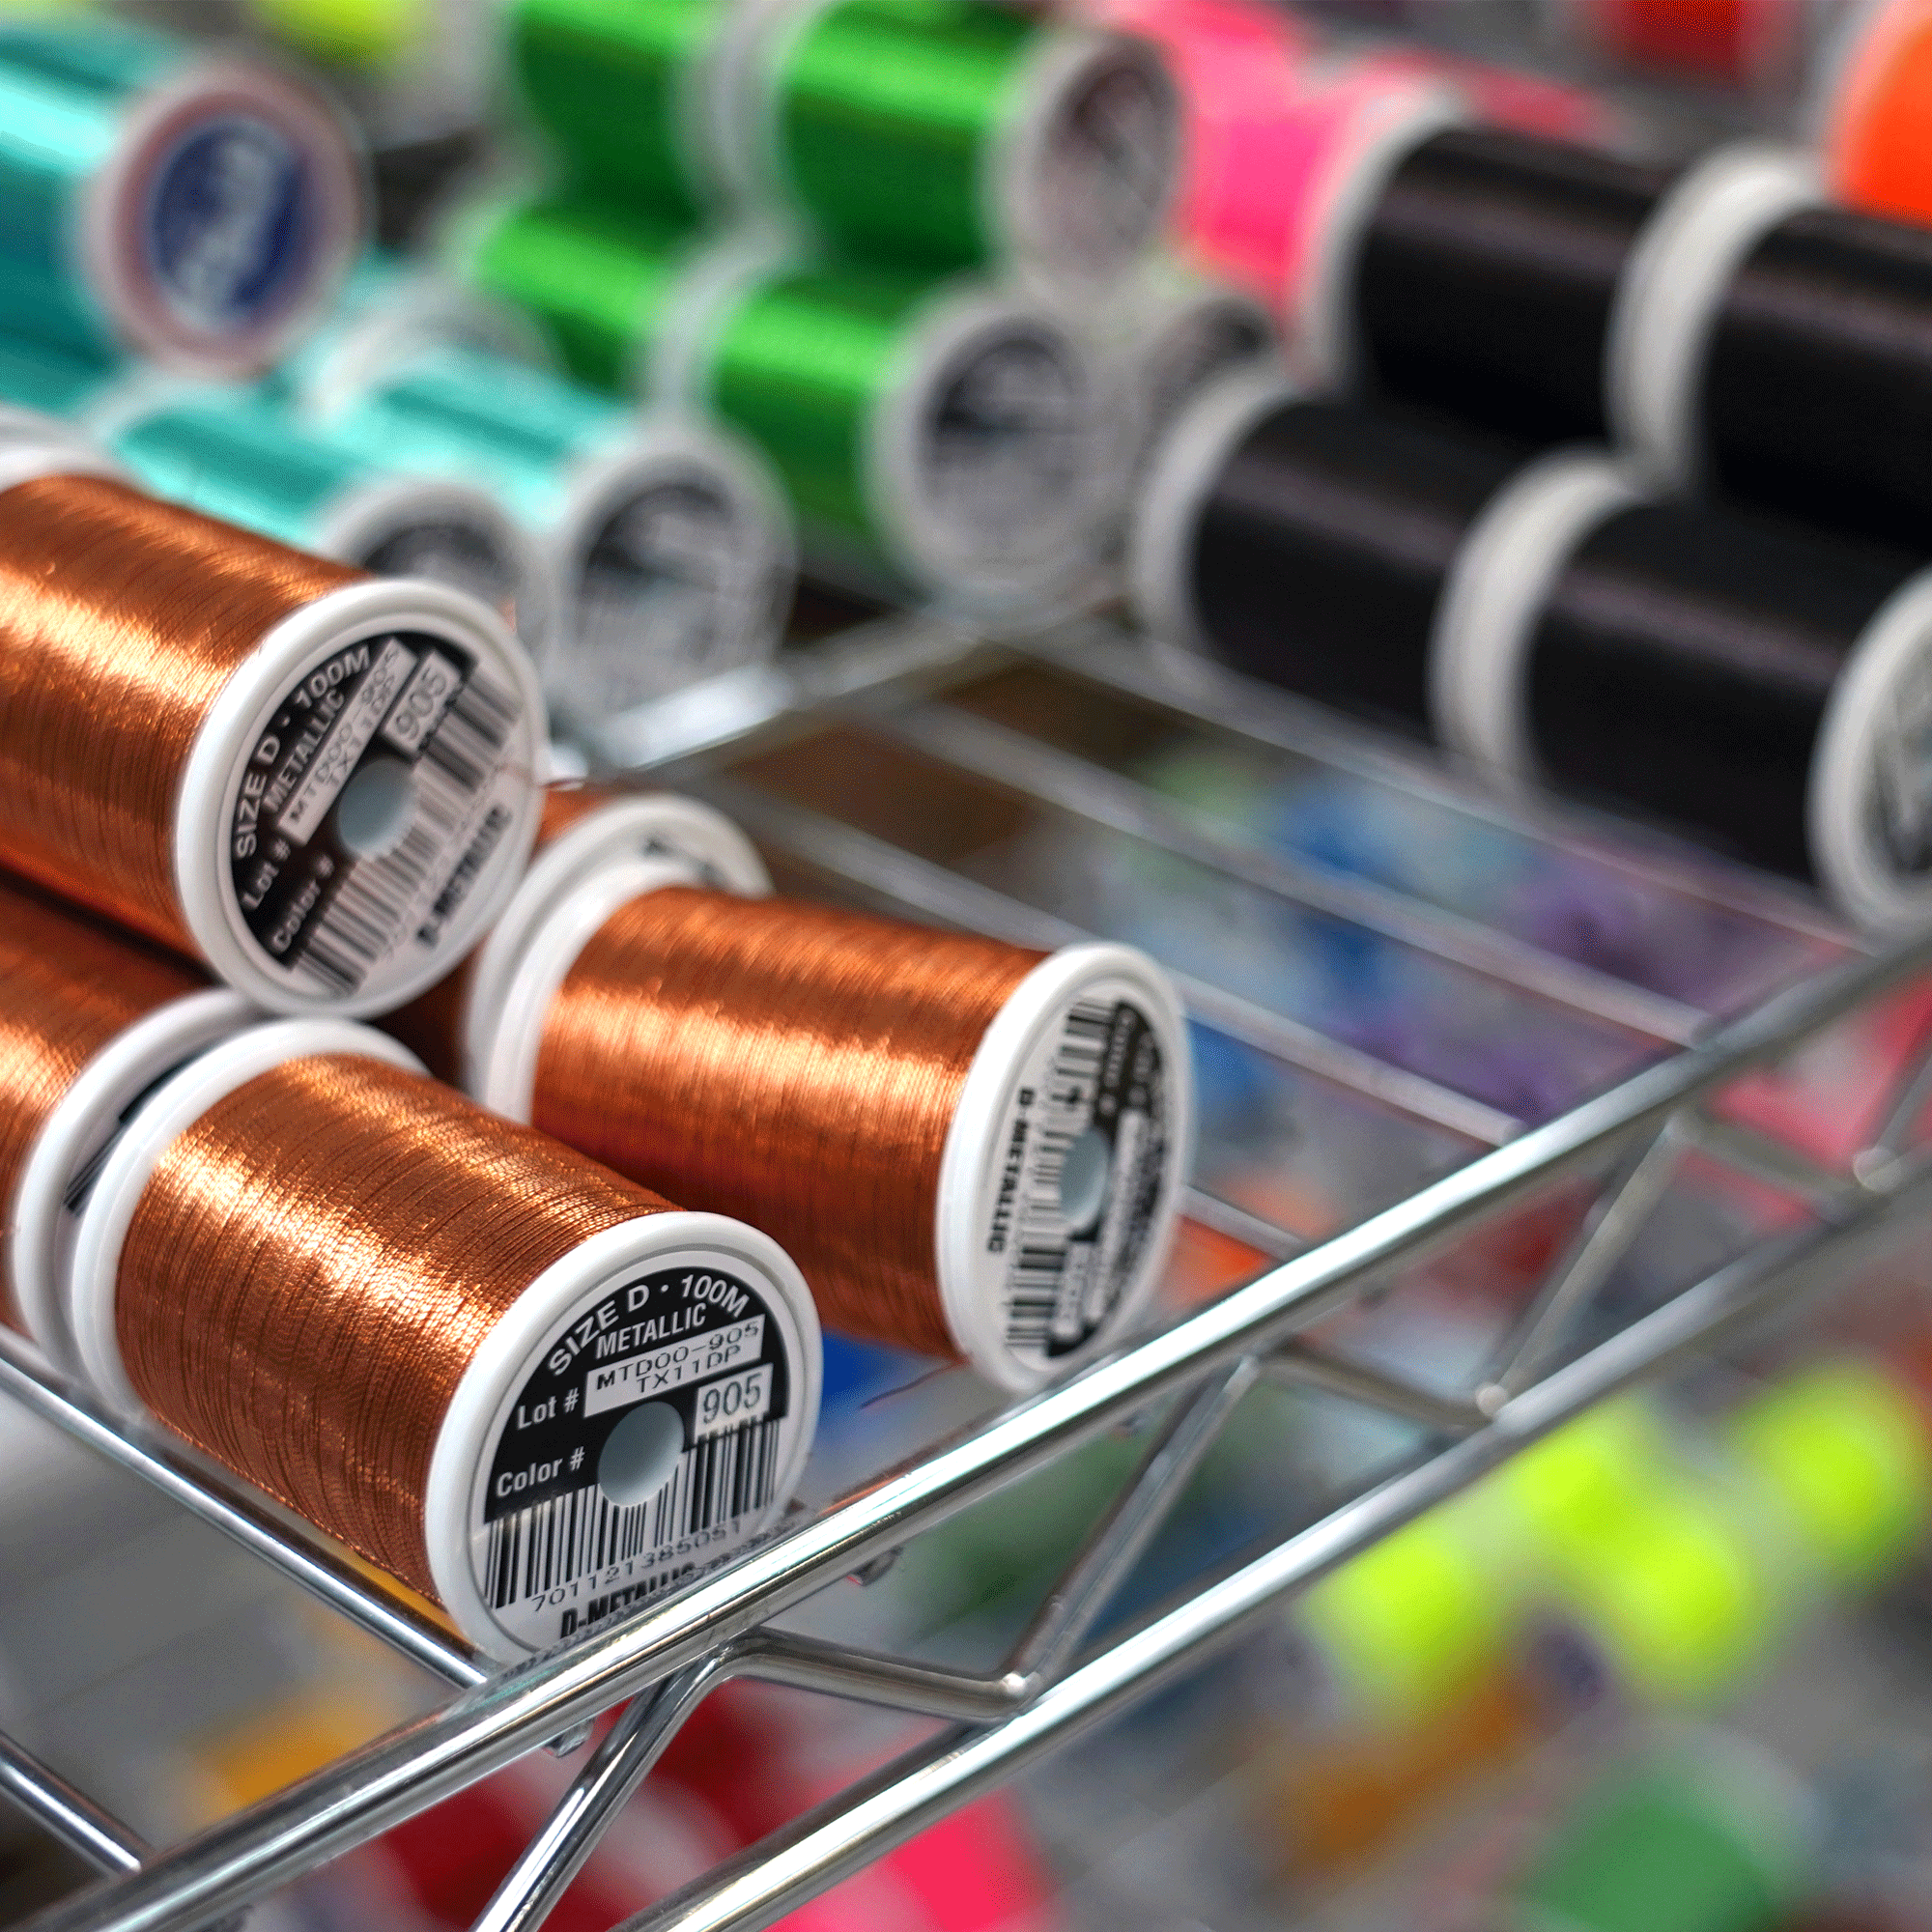
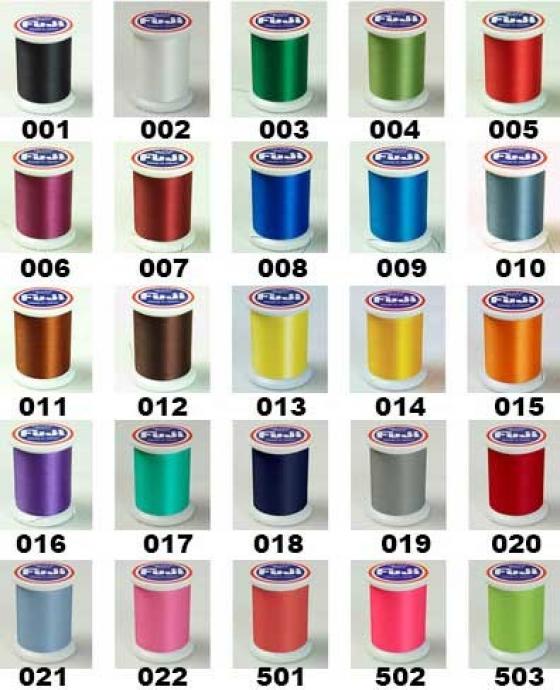
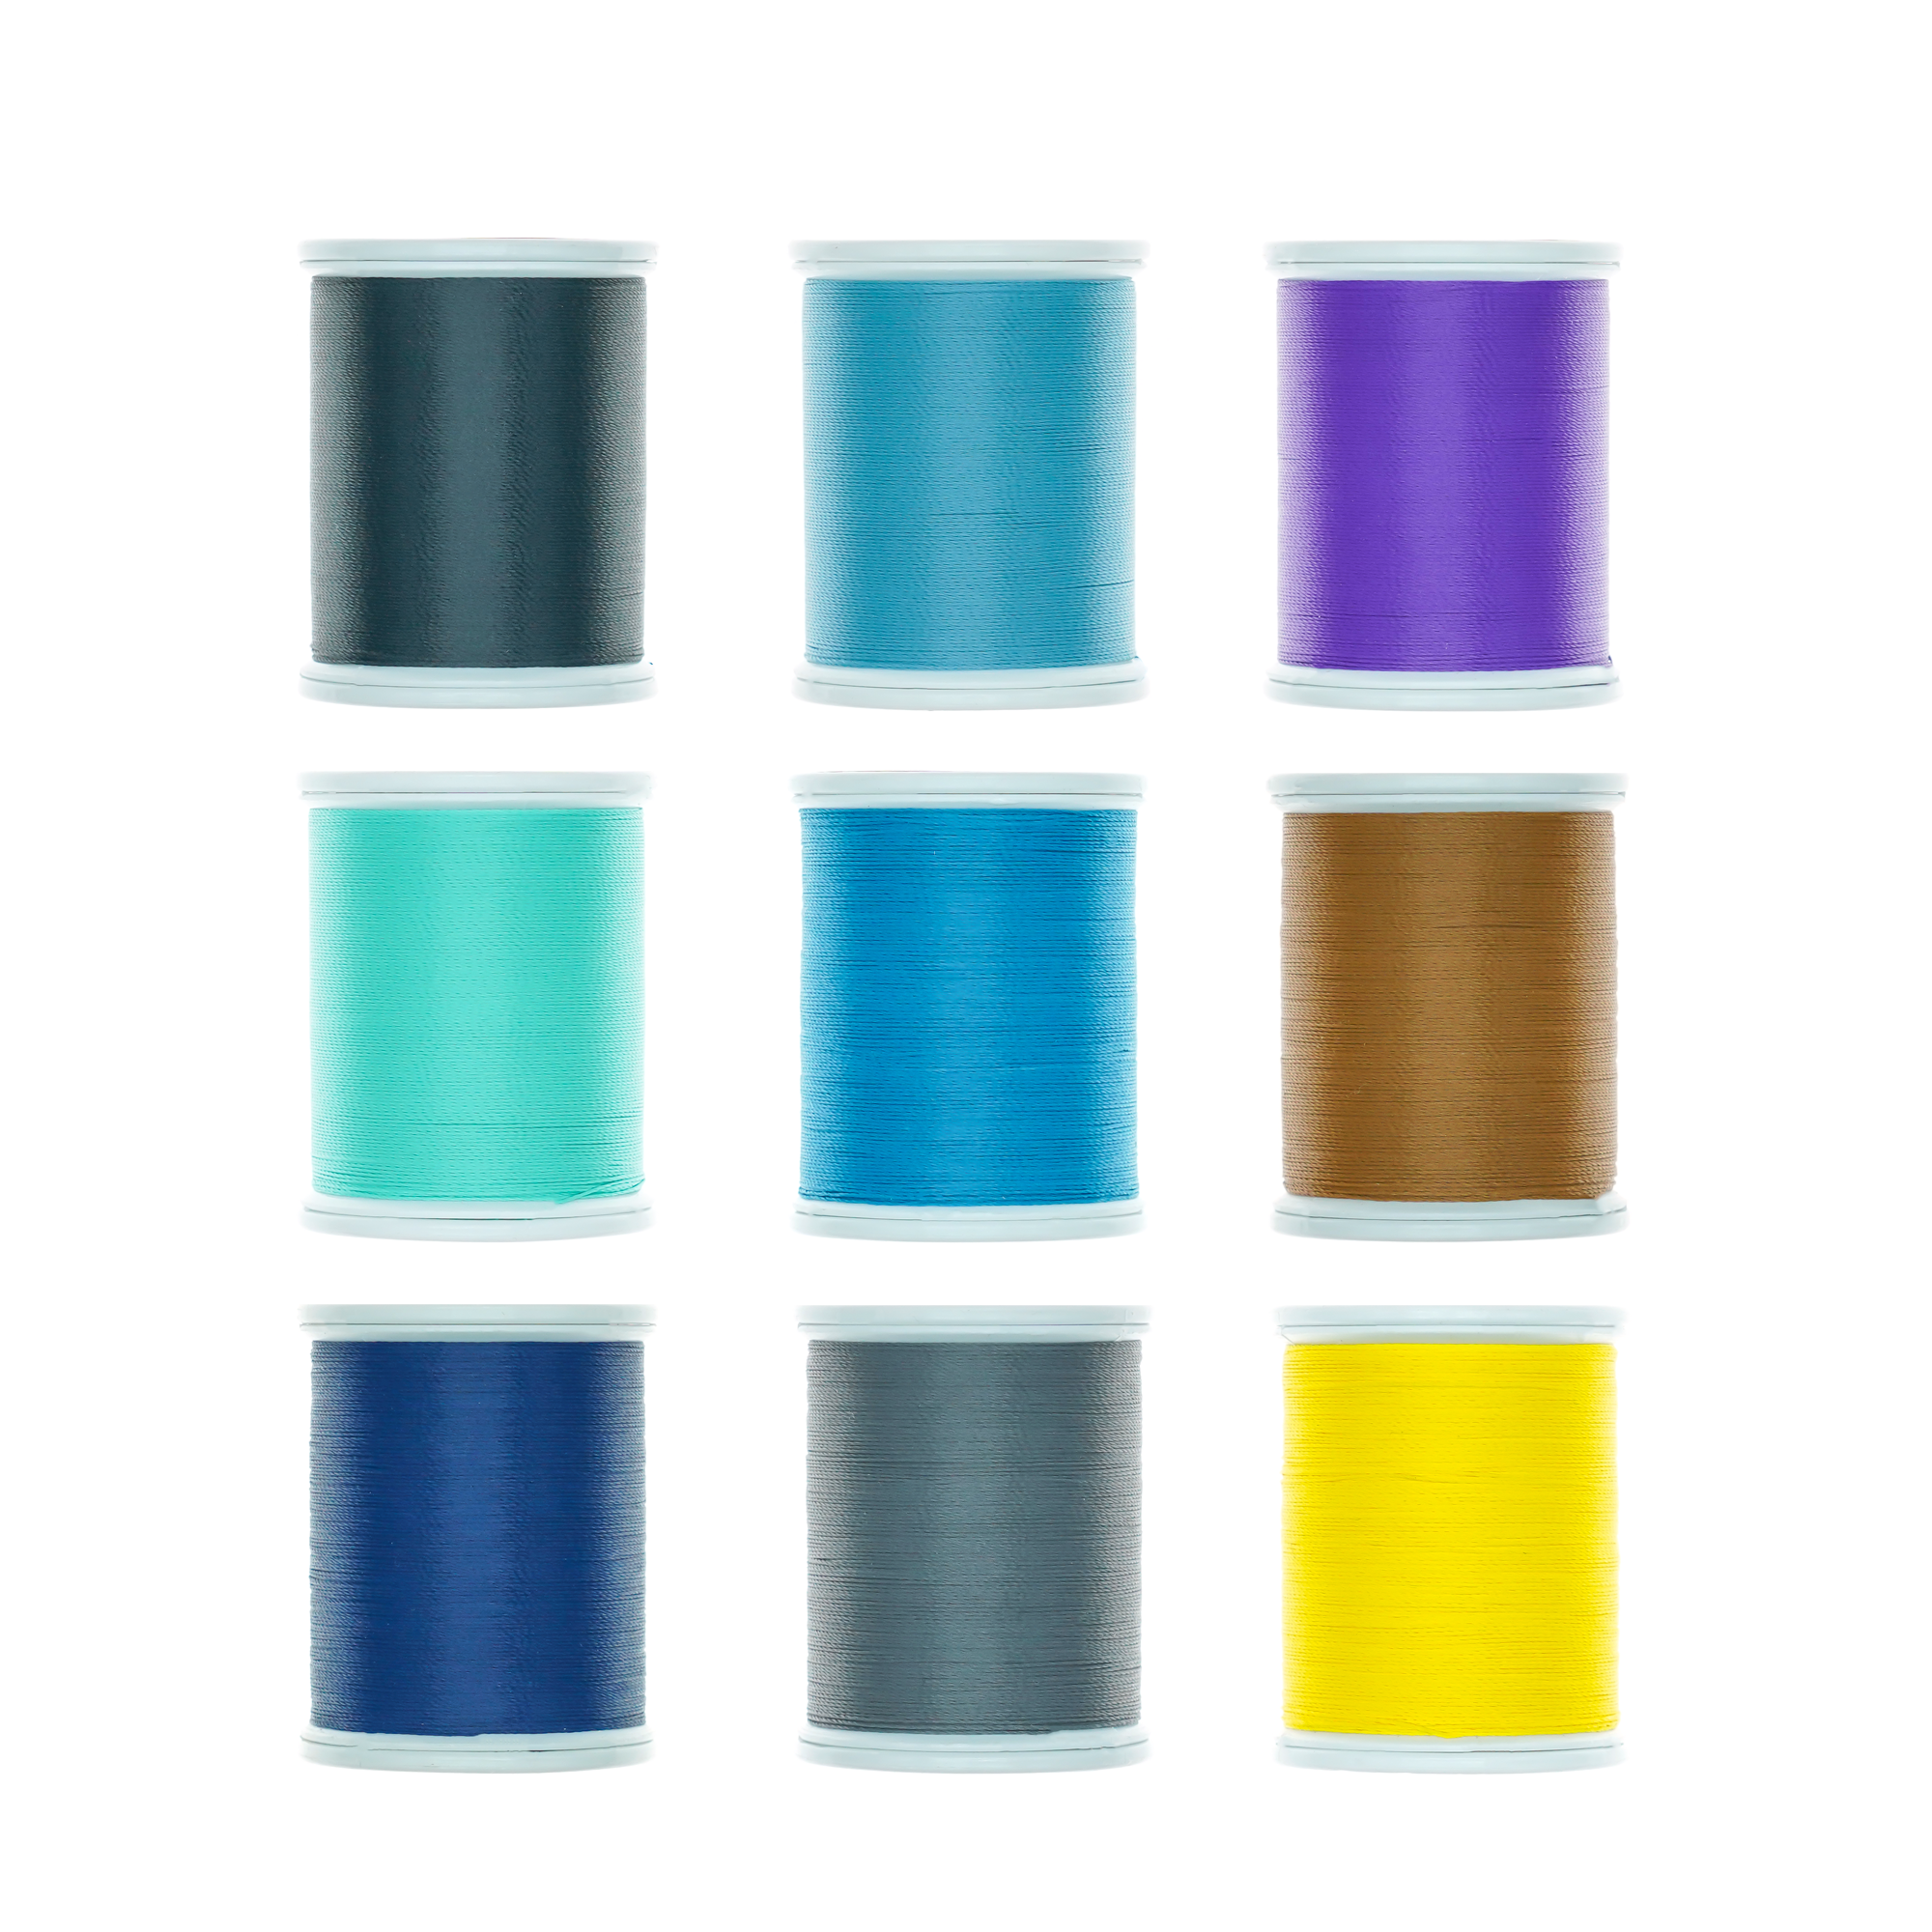
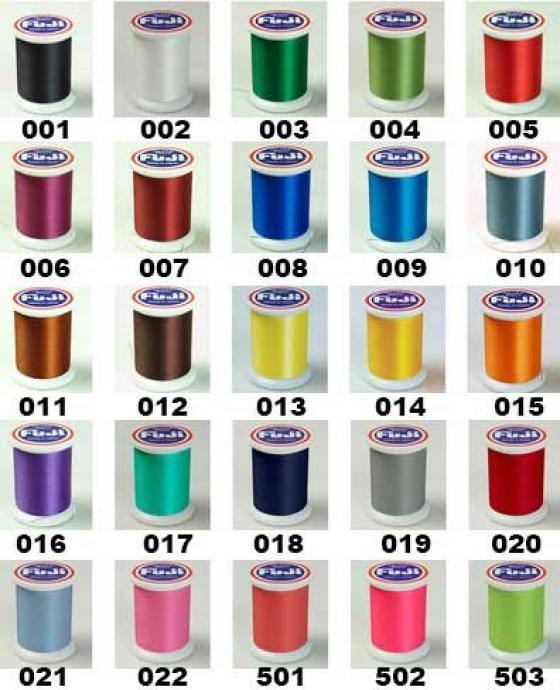
- Wrapping two turns of black thread on the double-sided tape at the butt side.
- Continuing at a 45° angle along the traced axes.
- Making 1 or 2 turns at the tip side, then returning by crossing the threads.

Step 3: Second Pass
Add a pass with light blue thread on the butt side.
Important: Keep the thread tight so it stays aligned with the black thread.
Step 4: Third and Fourth Passes
- 3rd pass: Add a black thread on the tip side.
- 4th pass: Add 2 blue threads next to the first blue thread.

Step 5: Continuing the Passes
Keep alternating colors:
- 5th pass: 1 black thread
- 6th pass: 2 blue threads
- 8th pass: 3 blue threads
- 12th pass: 4 blue threads
- 16th pass: 5 blue threads
- 20th pass: 6 blue threads

Step 6: Finishing and Varnishing
Once the wrap is complete:
- Apply 2 coats of color preserver.
- Let it dry for 24 hours.
- Apply 2 coats of varnish.
Tips:
- Use a magnifying glass to check details.
- Ensure threads are tightly packed after each pass.

Your “Fish Scale” wrap is now complete! 🎣






Leave a comment
All comments are moderated before being published.
This site is protected by hCaptcha and the hCaptcha Privacy Policy and Terms of Service apply.