
Practical guide: Simplified ring installation
Tutorial: How to simplify ring installation
That's it, your ring pack is selected, your distribution is set and you're ready to get started. But there are a few problems. The line doesn't mount properly on the ring lug, and the tunnel isn't all that easy to fit: ah the famous KT4 tunnel on the tip of a UL, a great moment of nervous breakdown....
For my part, I've tried quite a few tricks for ring placement: hot-melt glue technique, scotch tape, thermo tubing, rubber bands... with varying degrees of success depending on the technique.
In refining my process I finally arrived at this way of proceeding.It's the one I use when I introduce beginners to rod Assembly, and the response is often the same: "It's quite simple after all!"
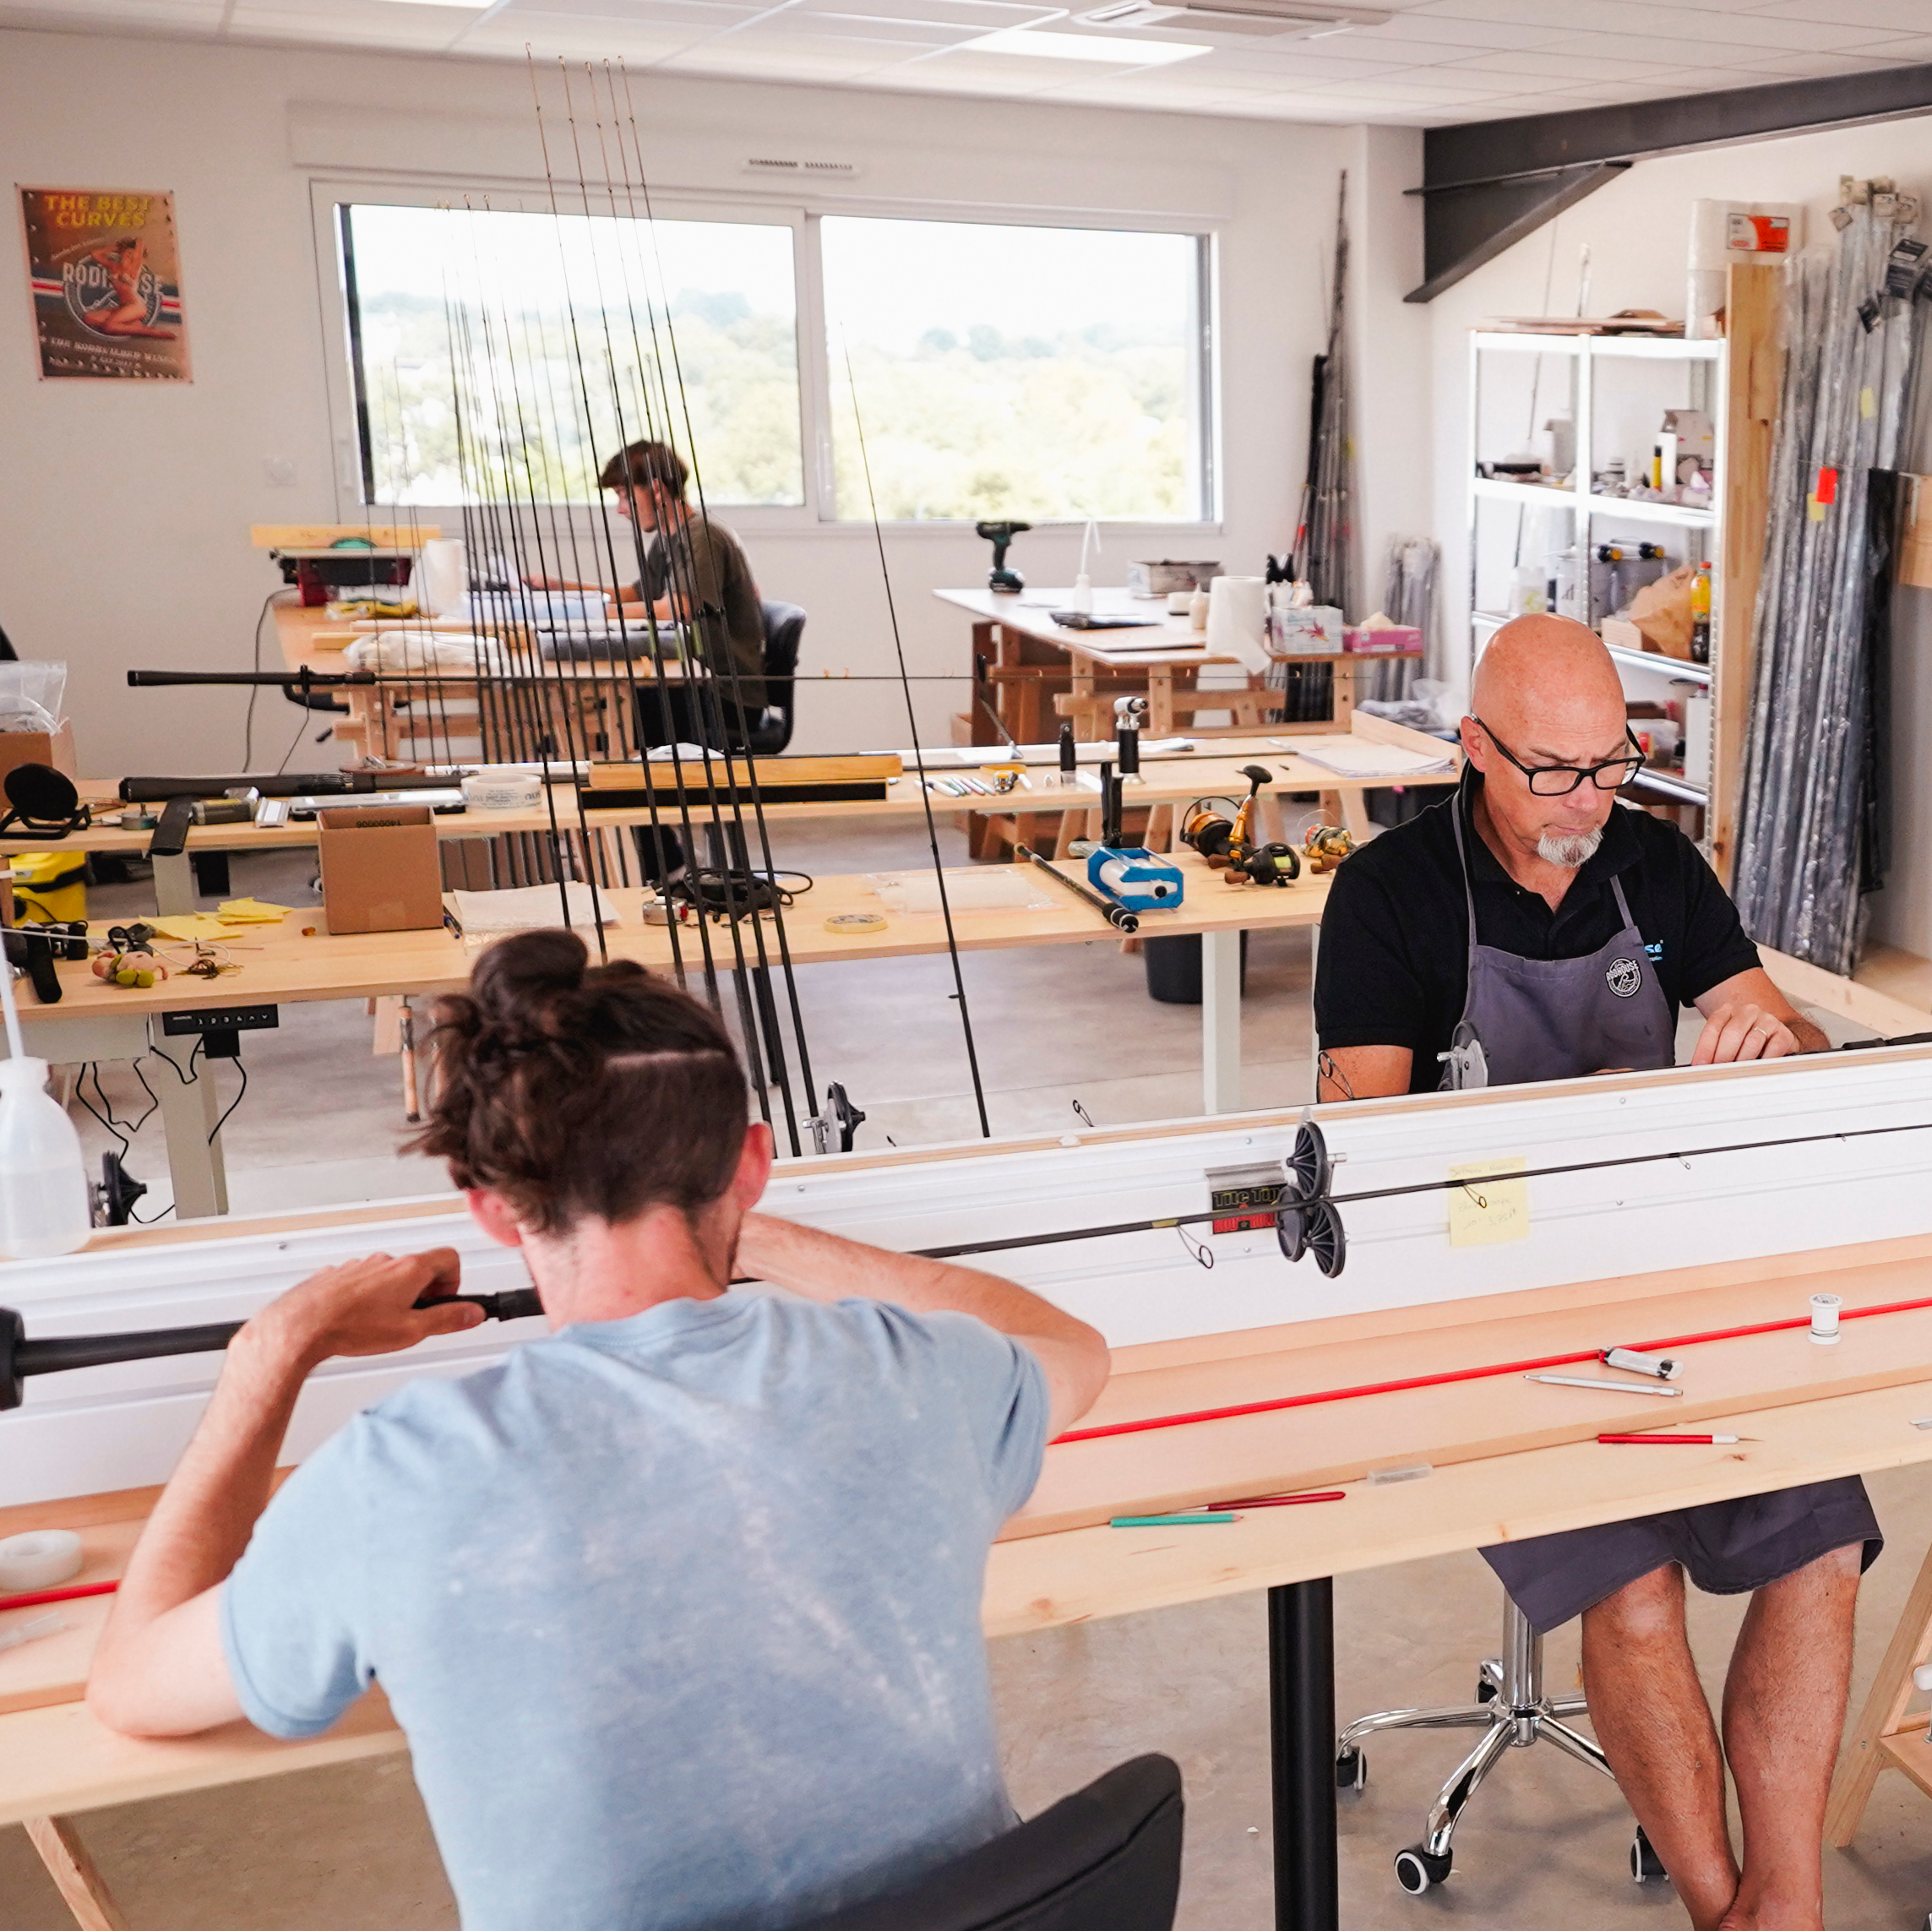
This way of doing things requires a little preparation time, but once all the rings have been prepared and pre-aligned, you can get on with it very quickly.
Level of difficulty: 
Hardware:
First of all, here's a checklist of the equipment to use. Nothing fancy, you should normally have everything at home or on the Rodhouse store.
[caption id="attachment_1179" align="aligncenter" width="640"] It's very easy to get the equipment you need to make a Wrapping.[/caption]
- a file and/or sandpaper to prepare the ring leg ; - a razor blade; - a white pencil to mark the blank ; - painter's tape ; - office rubber bands - latex girdle, I personally use dental elastics which do the same job ; - rings!
Fitting a large ring:
We're going to start gently with the fitting of a large ring.
The first step is to prepare the ring leg with the file and sandpaper. The idea is to lightly sand the ring lug at a bevel to make it easier to mount the Wrapping wire on it. I generally start with the file and finish with sandpaper (400 grit) to avoid sharp edges that will damage the wire. I repeat this preparation for the reduction rings and tunnel rings, depending on their size. Here the 6 rings will be prepared, I'm not going to touch the 4 rings.
So here's our rough finished and prepared ring (1 and 2).
Tip from the pro-staff: Here's a simple trick to limit reflections from the ring tab under the black wire if your ligature is poorly packaged. Once you've prepared the ring tab, simply apply a stroke of indelible black marker to the tab and leave to dry for a few minutes (3). This way the tab will be much more discreet under your Wrapping (did someone say manic?).
[caption id="attachment_1180" align="aligncenter" width="640"] Preparing the ring before tying to simplify the wire mounting on the paw[/caption].
Returning to our large reduction ring, the blank is marked with the pencil (1). Here we can clearly see the spine and the location of the ring. We'll proceed as follows: wrap some tape around the blank to form a stop (2). While I'm at it, I mark the spine again on the tape, which will make it easier to fit the ring. I take this opportunity to prepare all my rings in the same way, with the pre-cut tape it goes very quickly.
Once my scotch tape is down I'll place my ring. I use office rubber bands on which I tie a simple knot (3). I use two for large rings. To make it easier to lay the wire, the ring should overlap the tape very slightly, so as to effectively press the ring's tab against the blank (4).
. [caption id="attachment_1181" align="aligncenter" width="640"] Be careful, you need to align the ring ceramic with the pencil line, not the ring lug (photo 4).[/caption]
I start my Wrapping as close as possible to the ring lug (1). The smaller the size of wire used, the more complicated it is. With larger sizes, it's even simpler, and the result: it goes on by itself!
Once we're well advanced, we cut the first rubber band (2), then the second (3) and remove the tape (4).

Finishing the Wrapping:
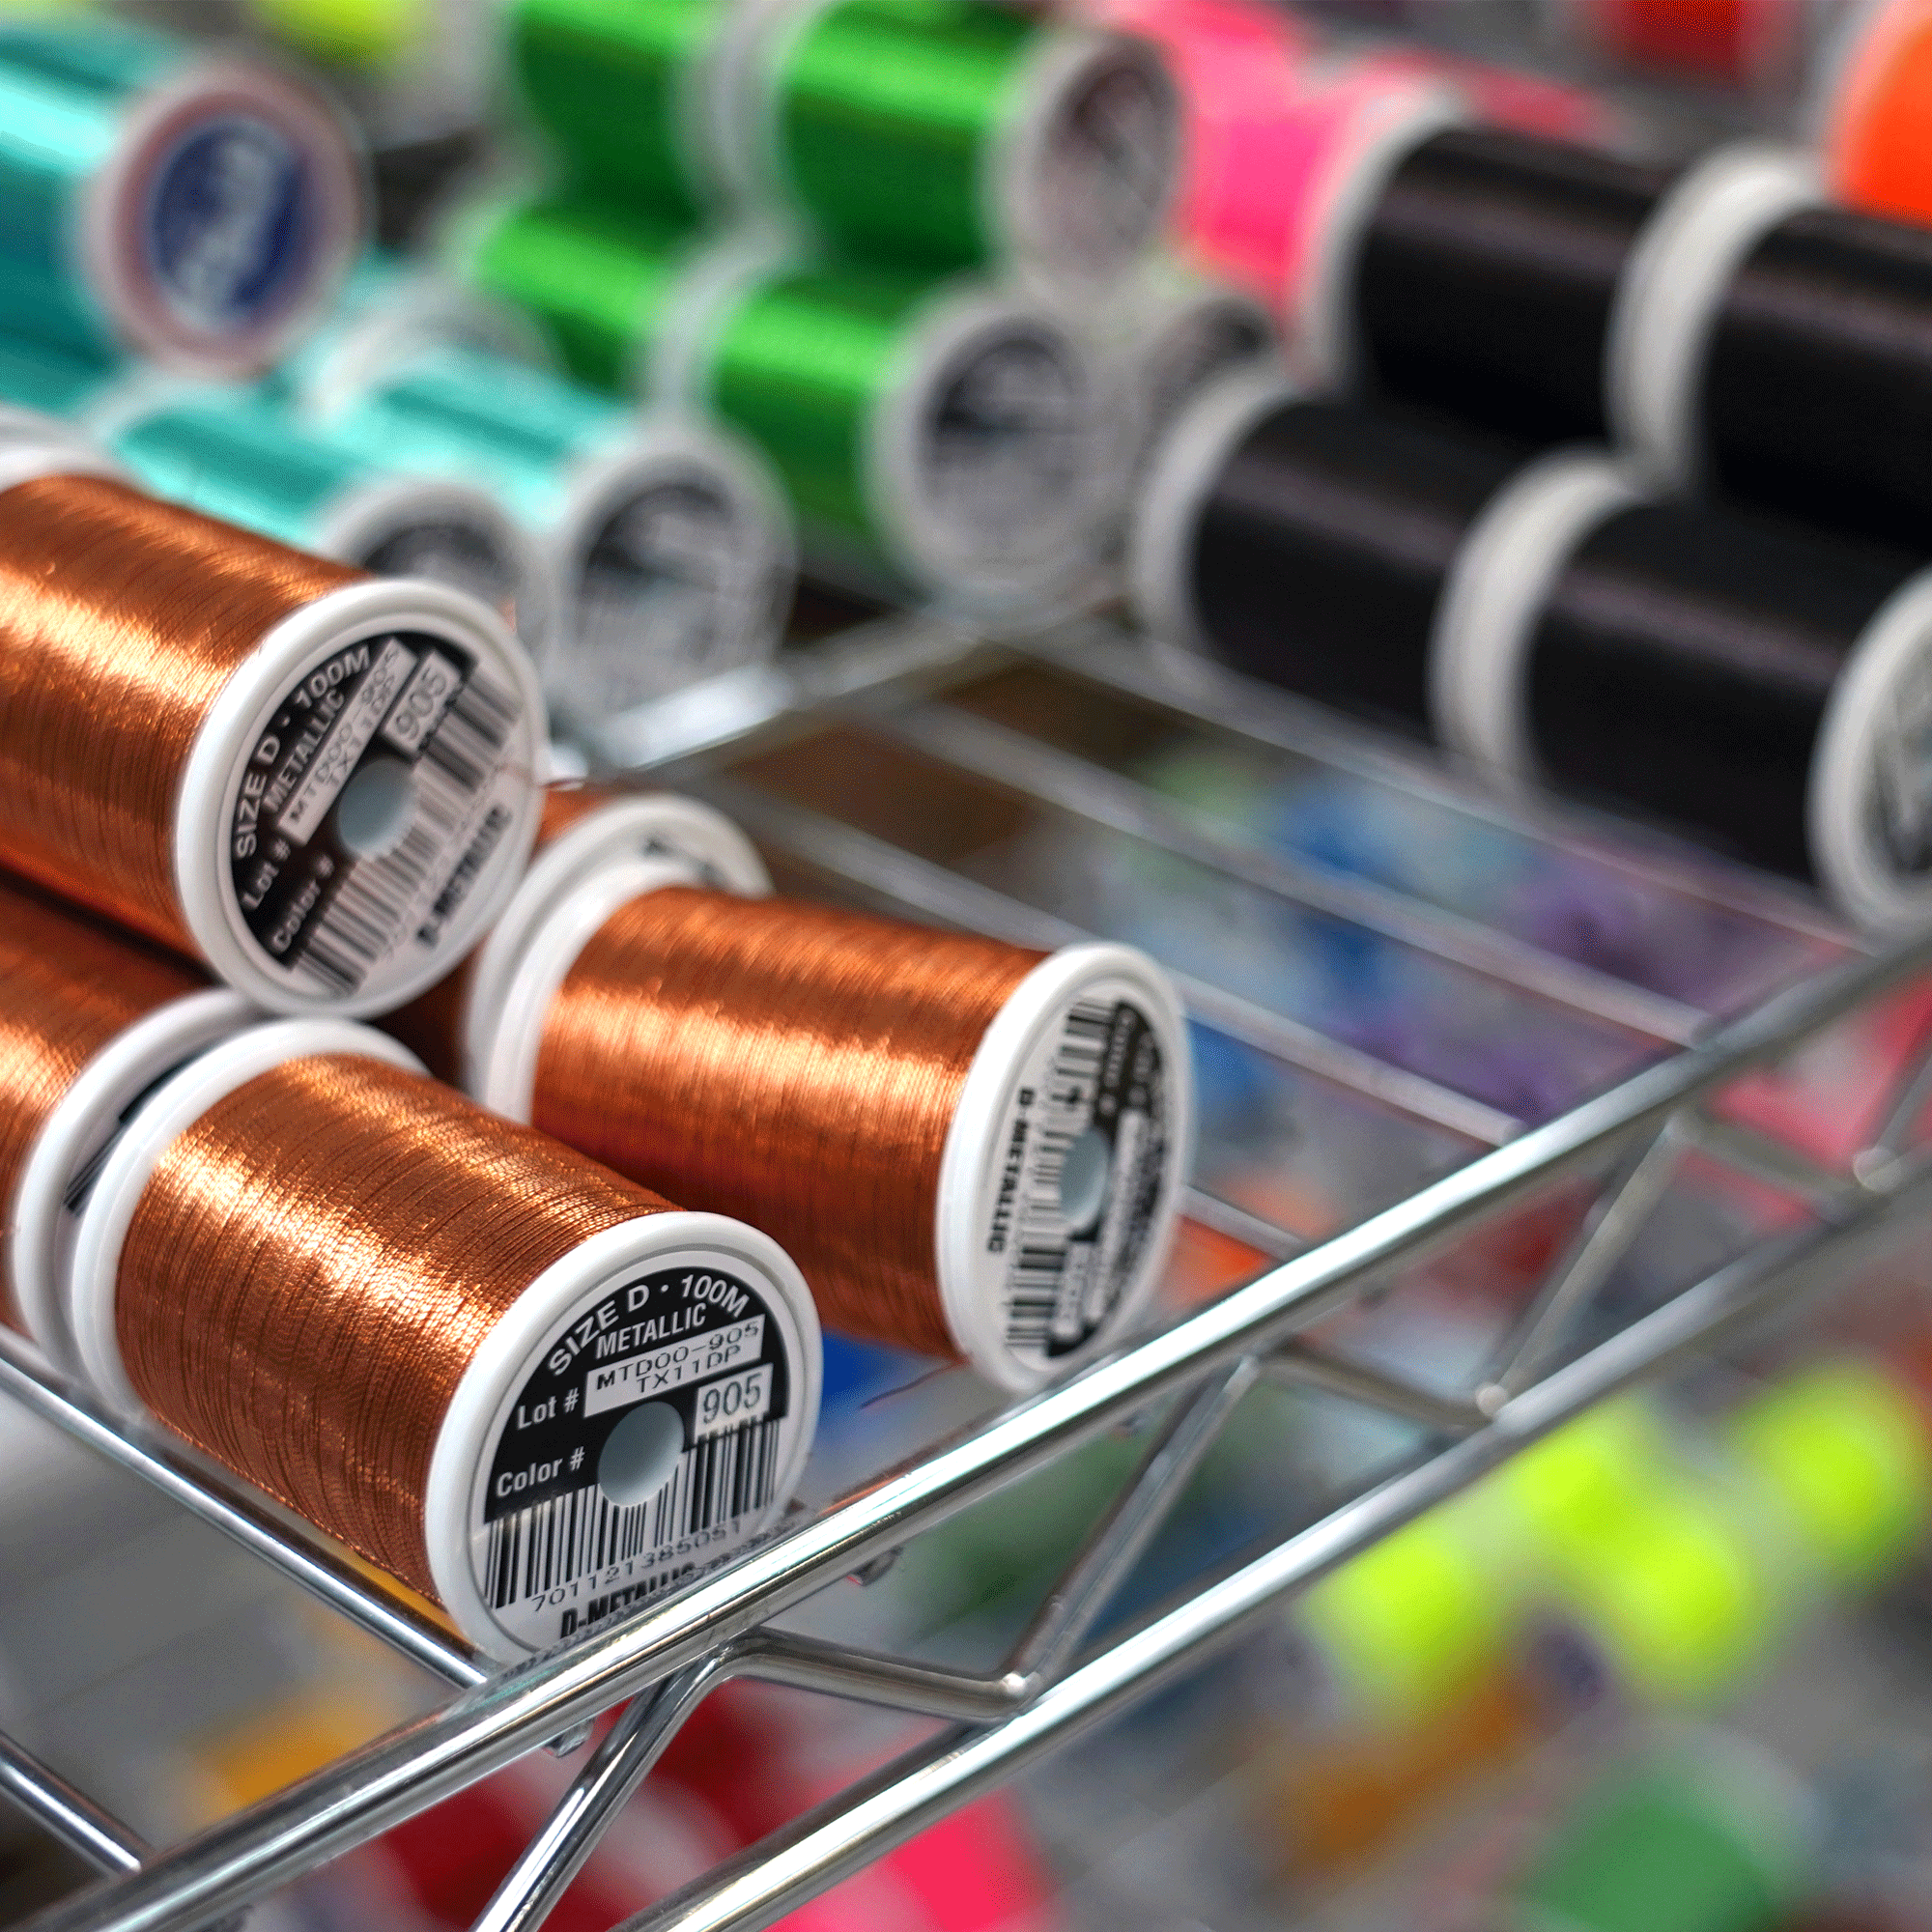
To finish the Wrapping I use a loop made from a scrap of braid: it glides better than binding wire and is stronger (1). If you're sure of your alignment, here's a little trick to finish the Wrapping ultra-clean.
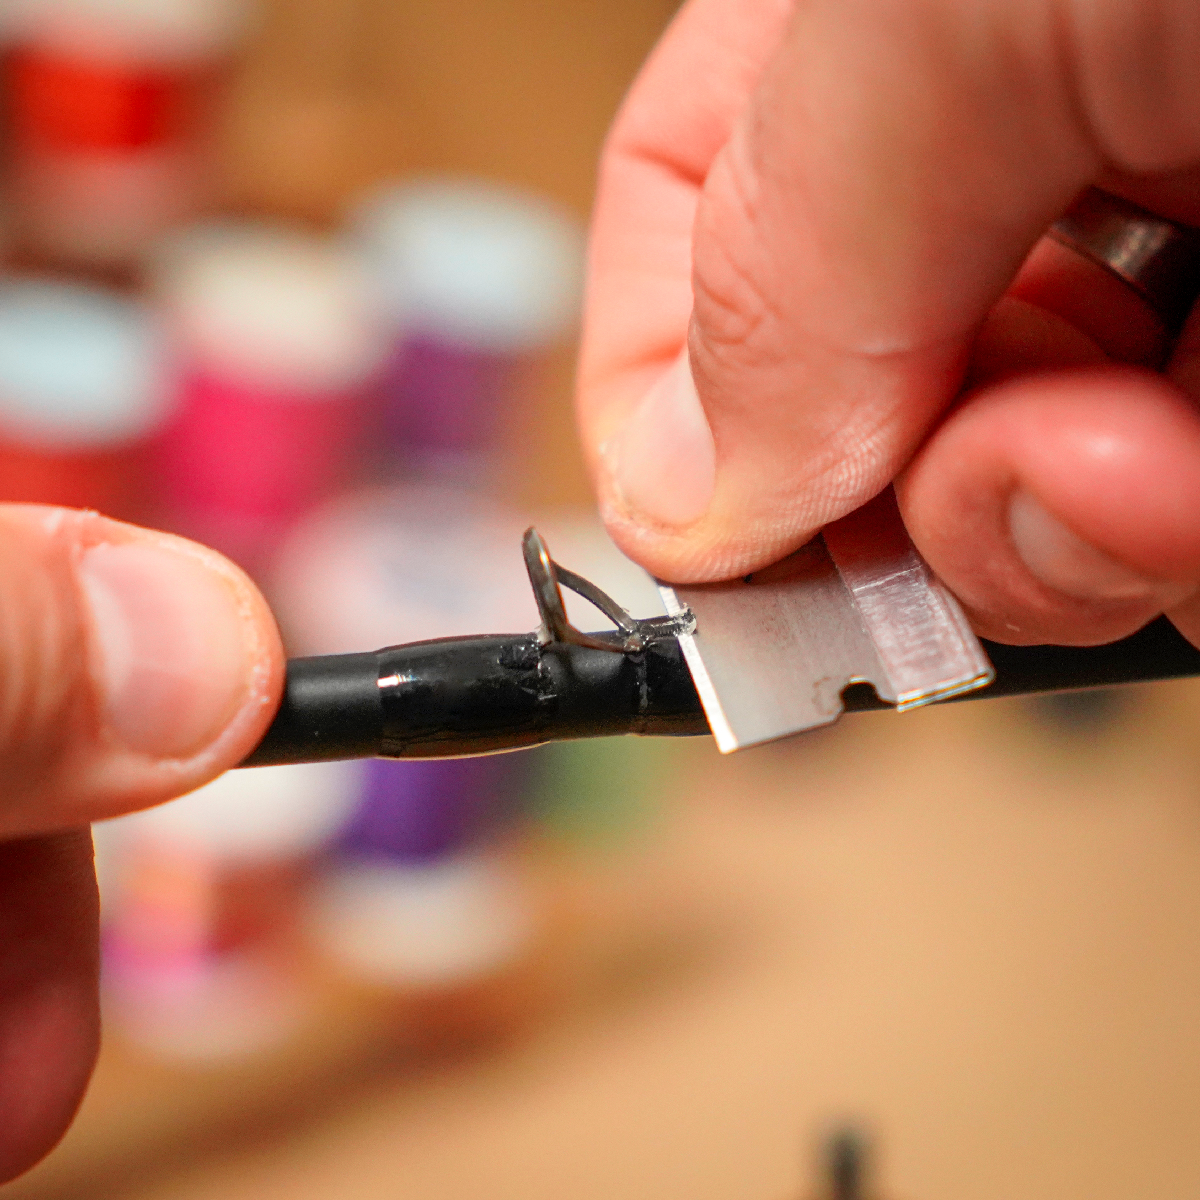
(2): Tighten and lock the wire very slightly under the ligature, barely a millimeter. (3): Cut almost flush, leaving about 1 to 2 mm of il (4) : Pull at 45°, the excess wire will be blocked under the ligature, no need to cut the wire and, above all, no unsightly pimples.
: Pull at 45°, the excess wire will be blocked under the ligature, no need to cut the wire and, above all, no unsightly pimples. [caption id="attachment_1183" align="aligncenter" width="640"] Using this technique, the binding is finished perfectly.[/caption]
Once the Wrapping is finished I remove the pencil marks on the blank by going back and forth with a loop of wire.

Fitting a small ring:
For the small rings in the tunnel, I proceed in exactly the same way, simply putting on a single piece of elastic. However, when finishing the Wrapping, I always leave an excess of wire sticking out: this makes it easier to align the tunnel. If you cut your wire short once the binding is finished, there's a risk that it will come undone when you align the tunnel rings. By leaving an excess of wire you can align your tunnel without fear and cut the excess once the alignment has been validated.

Let's move on to the very small rings now. Overall, the approach is the same, but installation is generally more complicated because the ring leg is really small. Putting it on the tip of a UL can be a real headache. Here's how I do it: I thread my dental elastics or tubing washers onto the blank (1). Failing that, a conventional rubber band will do, but it has to be really thin. Once my elastics are on, I make my tape wraps on my marks and position my rings (2). I position the elastic in the middle of the leg to start the Wrapping, then I move it towards the ceramic as I go (3). Once my rings are in place, Wrapping is just a formality. As usual, I start as close as possible to the ring leg and leave a piece of wire sticking out once the binding is complete, to align the tunnel properly (4).
.
Once your Wrappings are complete and aligned, don't forget to use a brunissoir (or a fingernail failing that) to pack (tighten) your Wrappings. Finally, a light tap with a lighter to burn any fibers protruding from the wire, and you're done!"




Leave a comment
All comments are moderated before being published.
This site is protected by hCaptcha and the hCaptcha Privacy Policy and Terms of Service apply.