
How to dismantle a fishing rod safely
Step-by-step guide to dismantling your fishing rod. Make necessary repairs or modifications with ease.
Tutorial: disassemble a fishing rod without the slightest risk.
By Yvan Kuzbyt. If there's one thing you mustn't lose sight of when dismantling a cane, it's that each step can be traumatic for the blank! The golden rule is: don't get nervous, take it easy - chi va piano va sano! The first thing you need to know is that you won't be able to recover all the elements, and that some will be sacrificed for others. In the vast majority of cases, the grips (cork and EVA) are virtually non-removable, while the bushes, butt, reel seat and rings can be recovered. Two types of component can be distinguished during disassembly: rings and handle components.Dismantling a rod: the rings.
The pro-staff's tip: "If I had to choose just one tool for this operation, it would be a new cutter blade!"
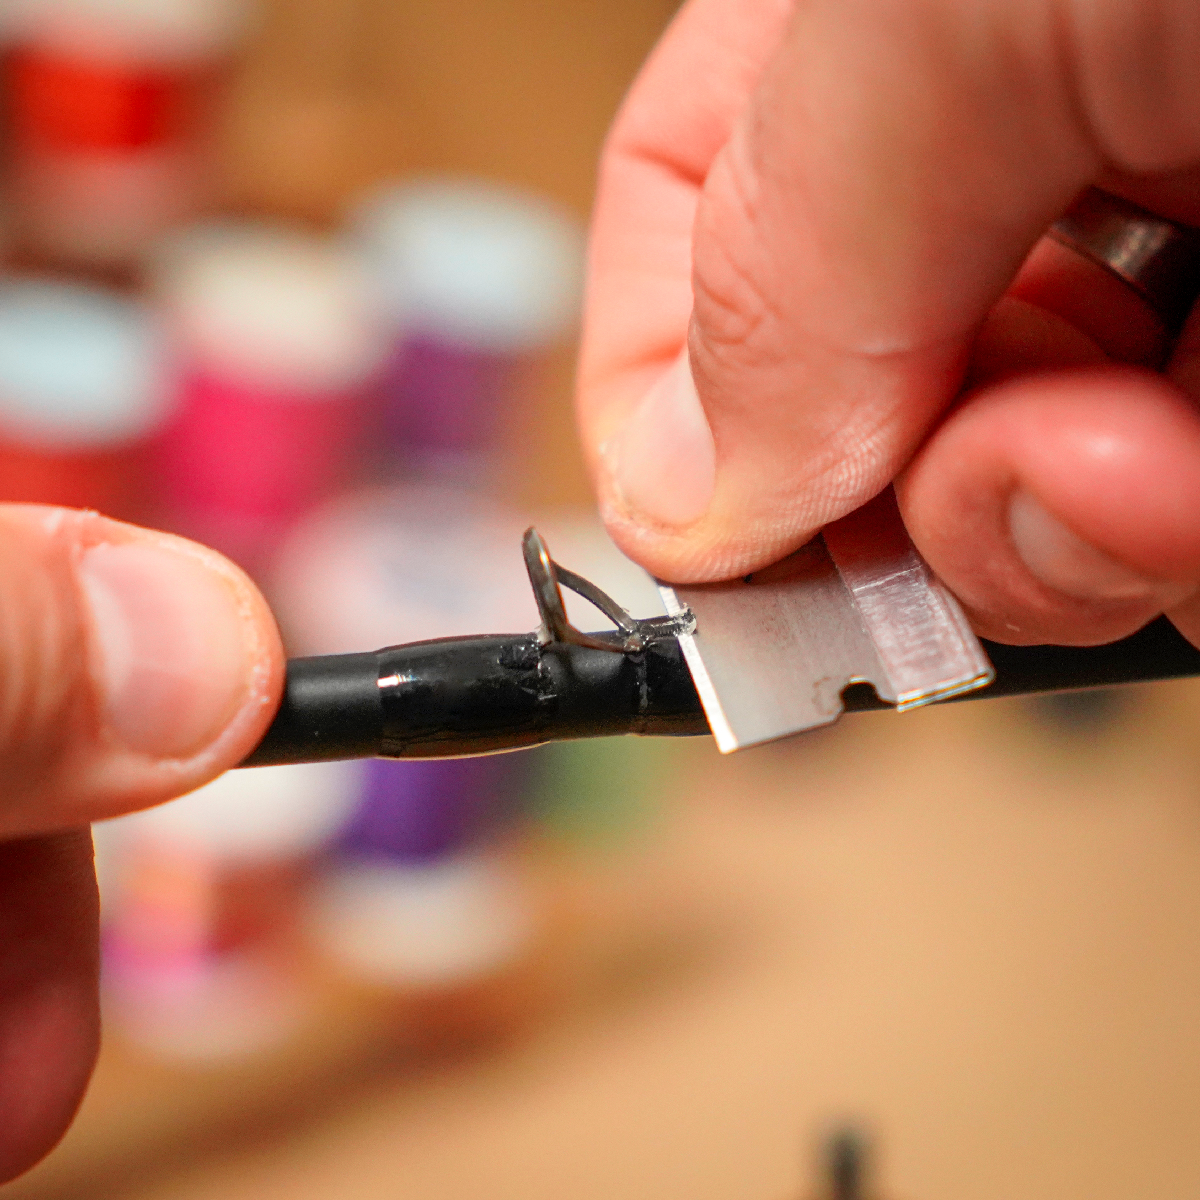
The aim is to make a cut on the top of the ring leg to eliminate the risk of touching the blank. Be careful about the direction of the cut: you go from the tip of the ring lug towards the ceramic. If the blade rips, it will be stopped by the ring! [caption id="attachment_855" align="aligncenter" width="800"] The cutter blade comes OVER the ring lug and up towards the ceramic. Do not go underneath![/caption]
[caption id="attachment_845" align="aligncenter" width="800"]
 Push down and scrape up to the ring lug[/caption]
Pro-staff tip: To avoid blade ''slippage'', one hand holds the cutter and the thumb of the other hand pushes the blade, this allows you to perfectly manage the pressure on the blade!
[caption id="attachment_846" align="aligncenter" width="800"] Most of the work is done. Then it's just a matter of removing the ring[/caption].
 [caption id="attachment_848" align="aligncenter" width="800"]
 When the ring is removed, what remains is a "varnish + thread" shell that is very easy to remove.[/caption]
[caption id="attachment_849" align="aligncenter" width="800"]
 There's usually a little varnish left on the bottom of the Wrapping. The principle is to pull on the remaining wire[/caption].
[caption id="attachment_850" align="aligncenter" width="600"]
 Small traces of varnish will remain on the blank, which can be scraped off with the non-sharp side of the blade.[/caption]
The tip ring is usually glued on. Once you've removed the varnish and Wrapping, bring along a pair of tweezers and a lighter. Quickly heat and rotate the ring, then remove it.
Taking apart a cane: the handle components.
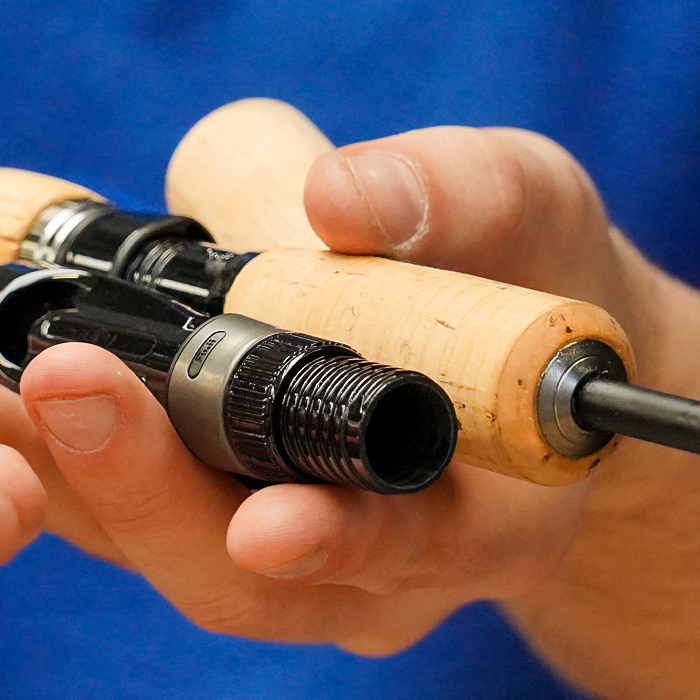
Disassembling the handle is a little more tedious. To remove the grip from a long handle, I make 2 slots parallel to the blank with the cutter blade, spaced 3/4mm apart and obviously without touching the blank! I then remove this strip of material with a knife blade. It's then easy to use this kerf to force out the cork or EVA. Once this operation has been carried out, some glue scum with material on it will remain.
[caption id="attachment_851" align="aligncenter" width="800"]
 The rendering is never clean at the end of this stage, as glue and cork remain[/caption].
Remove the rest with the cutter blade, always carefully and without forcing!
[caption id="attachment_862" align="aligncenter" width="600"]
 The blank stripped of its grip and traces of glue![/caption]
For "split grip" handles, it's easier to remove the parts with a hair dryer, heating the entire glued area. You'll need to be patient, as you may have to wait ten minutes or so, moving back and forth over the area, before you can peel off the glue. The heat causes the glue to soften. Once the area is well heated, try rotating the handle element to be peeled off.
Advice from the pro-staff: "You have to heat without burning the blank, the dosage isn't easy. That's why you have to be patient!"
The other solution is to run the element under hot or even boiling water, but watch your fingers! The finishing rings then need to be removed. The best method is to pass a cutter blade between the ring and the handle element. Disassembly of the reel seat, once the rings have been removed, is fairly straightforward. You can use the Dry fly technique or the method below, which I'll share with you.
[caption id="attachment_853" align="aligncenter" width="800"]
 I drill a hole in the shim between the PM and the blank. As the shim is crumbly and soft, I use a loach needle (for Live bait fishing). The aim is to make a through hole![/caption]
[caption id="attachment_854" align="aligncenter" width="800"]
 Pass a steel wire through the cavity to cut the shim all around the blank[/caption].
As you can see, dismantling a rod is not that difficult. You just need to use the right methods and be patient. You'll now be able to carry out a ring ramp change or recover old handle parts without difficulty. Enjoy!
Find our rod assembly tutorials here!




Leave a comment
All comments are moderated before being published.
This site is protected by hCaptcha and the hCaptcha Privacy Policy and Terms of Service apply.